How To Integrate Zapier With Messenger Bot Using Webhook – Google Calendar
Follow this process to make your own integration with this third-party application.
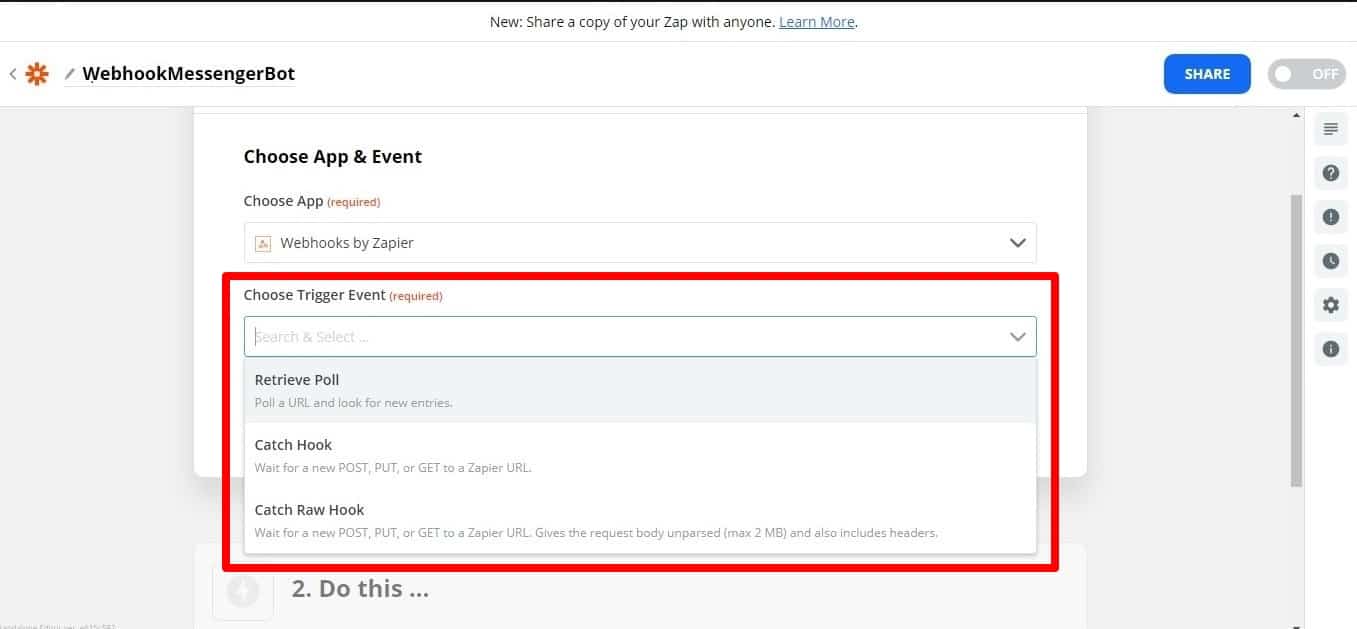
The Webhooks by Zapier trigger supports sending more than a single trigger event per webhook request. You can send an array of properly formed JSON objects and will trigger the Zapier once for each object in the array. It triggers the actions 3 times – once for every object in the array.
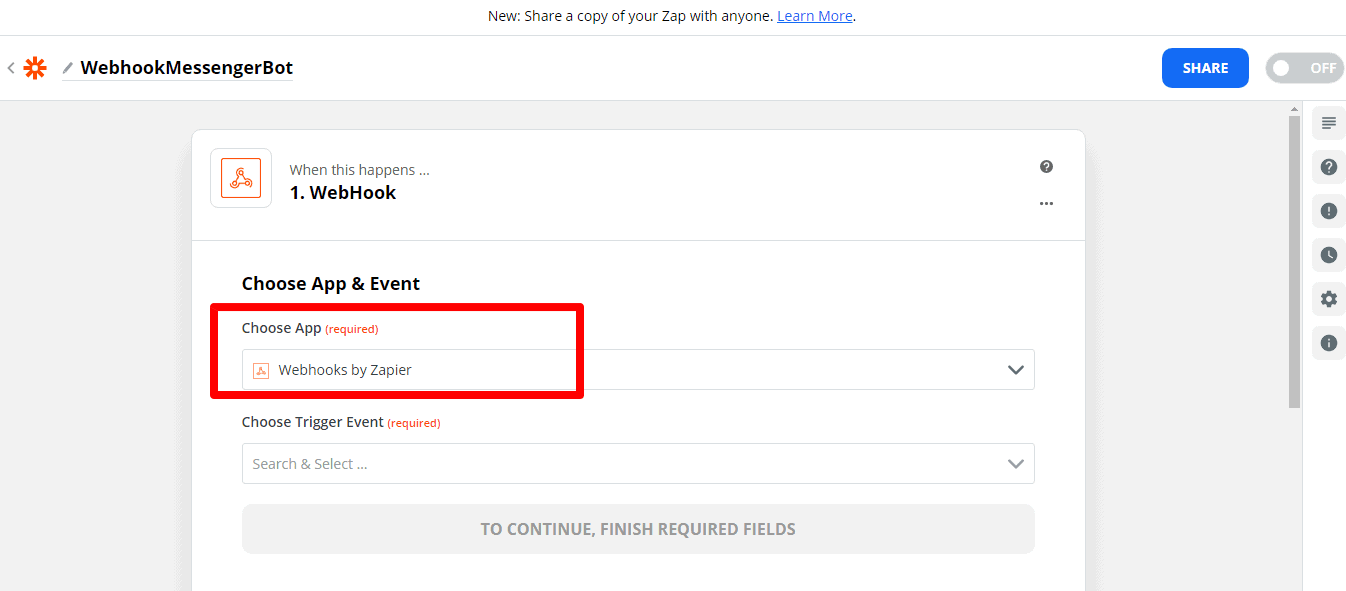
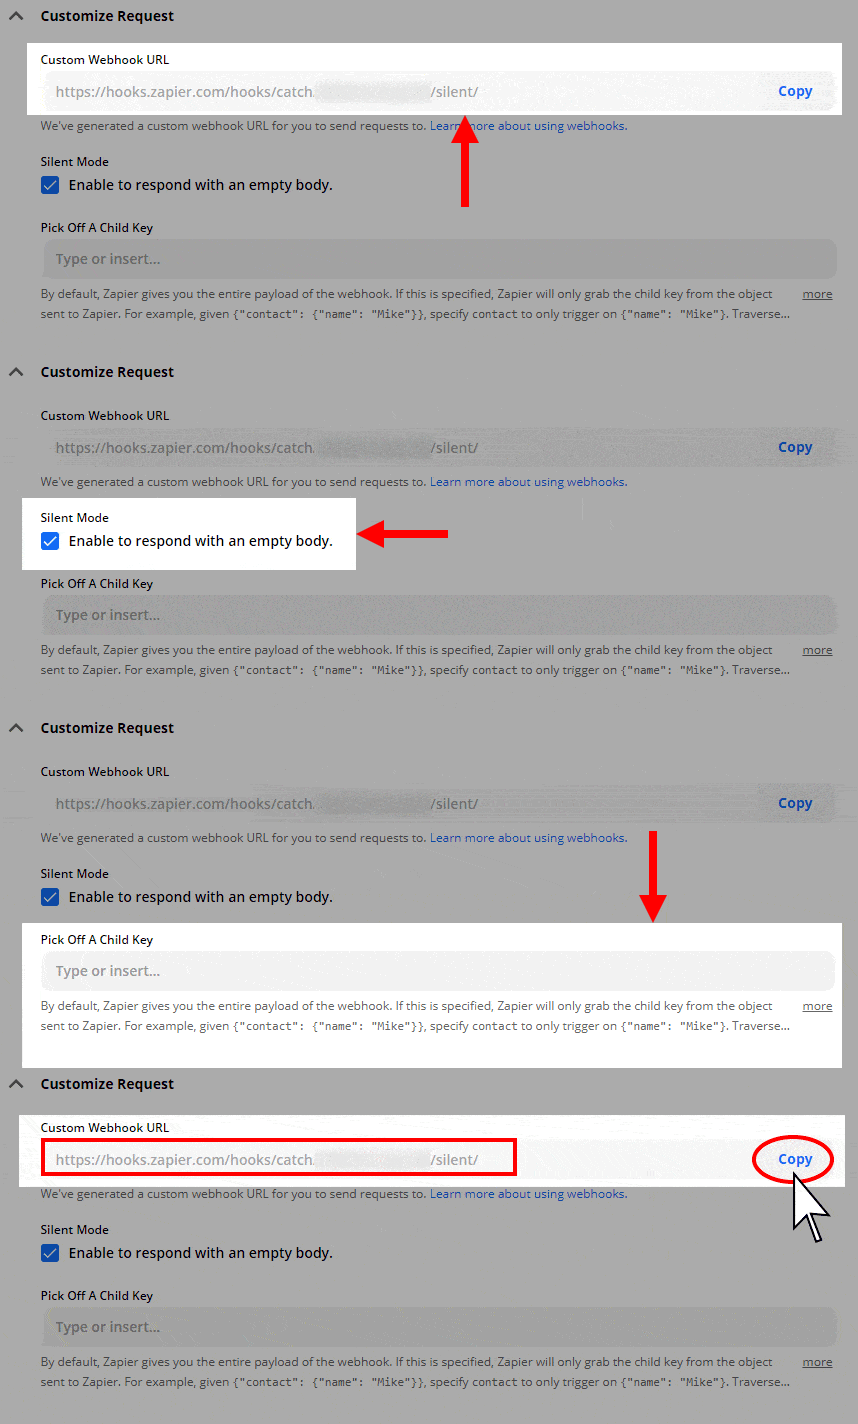
Silent mode: some apps want to receive an empty body. If you don’t want to receive content in the response from Zapier, select the Silent mode checkbox.
Pick off child key: This is the specific key you want Zapier to use from the request you make to the webhook URL. This is useful if you only care about getting a subset of the data that is sent to the webhook.
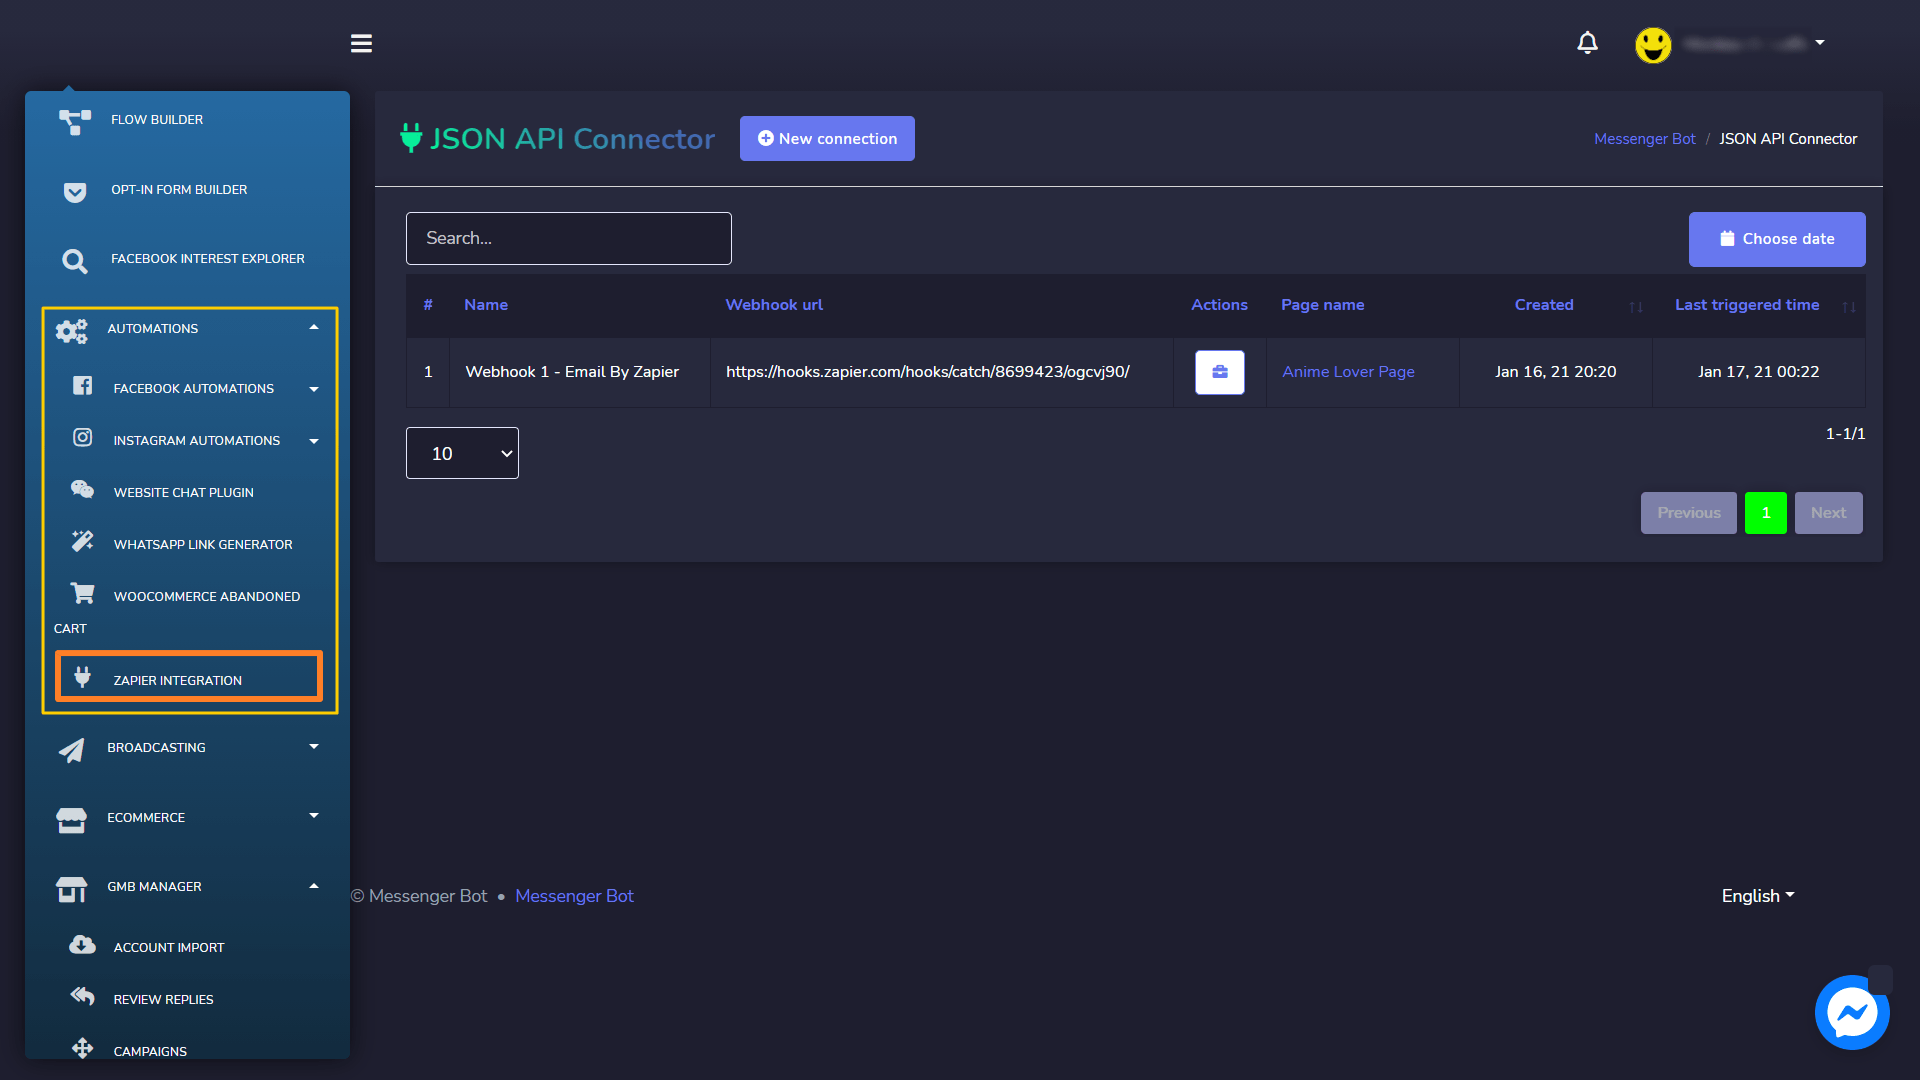
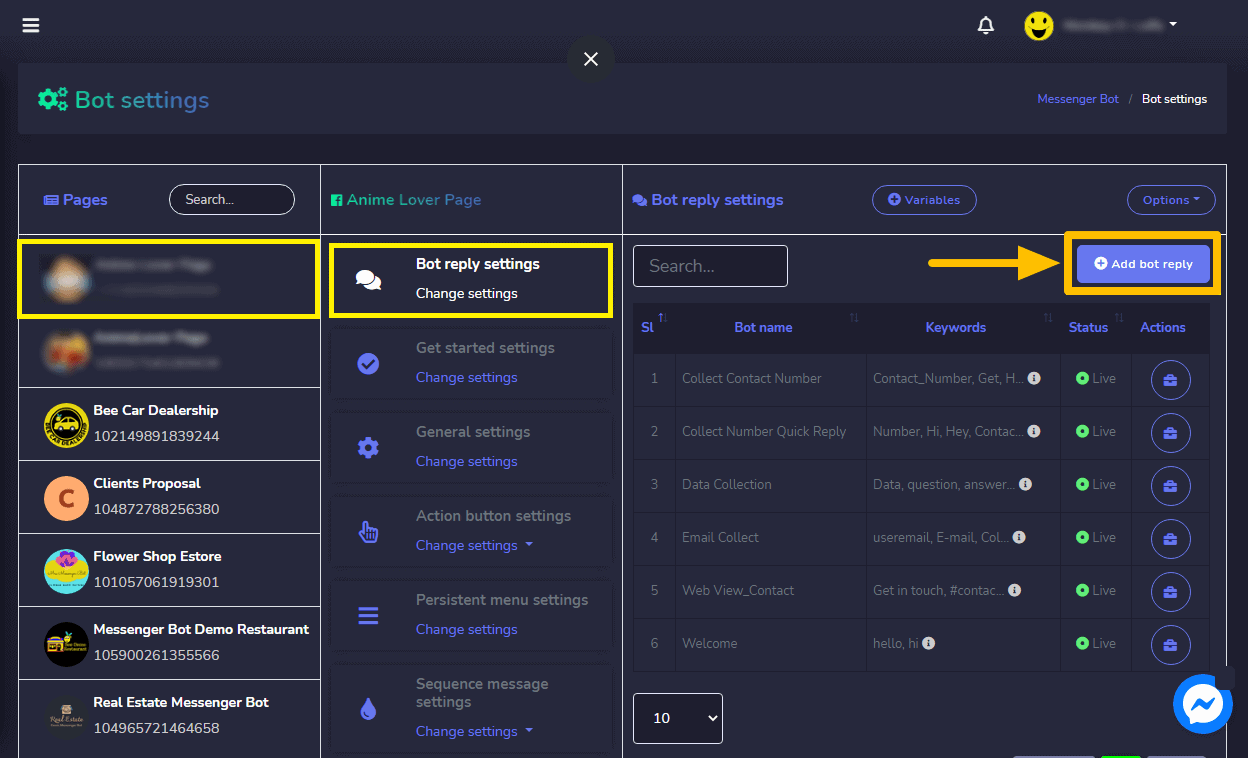
Copy the webhook URL and paste it to Messenger Bot JSON API Connector features.
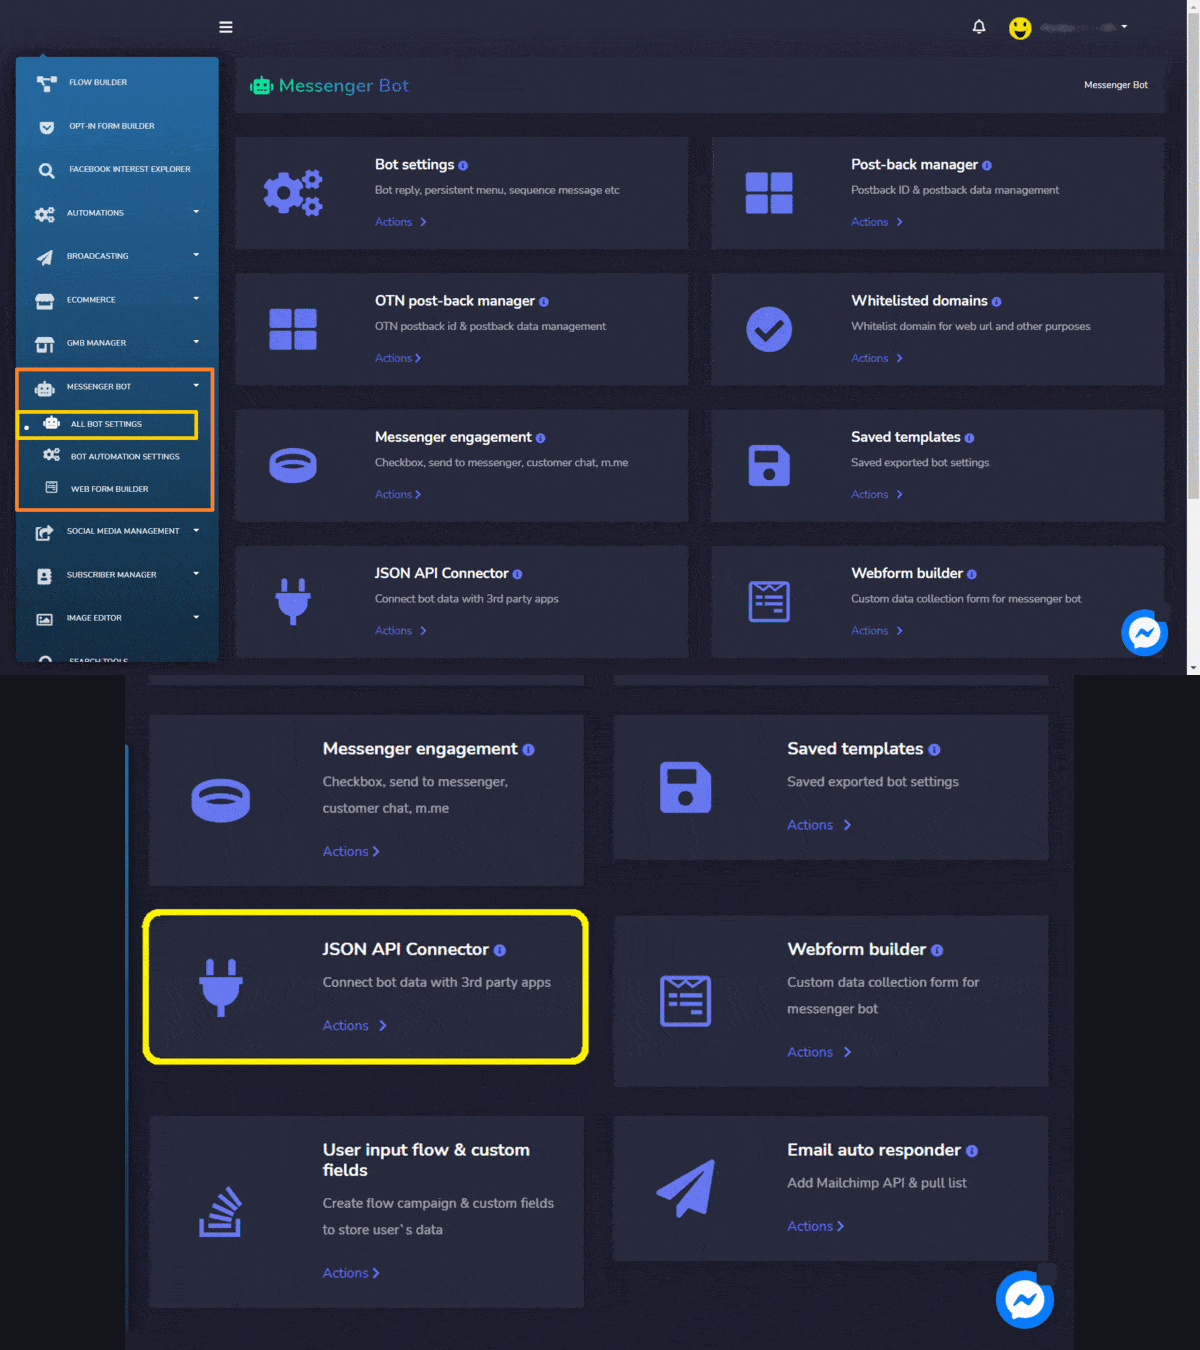
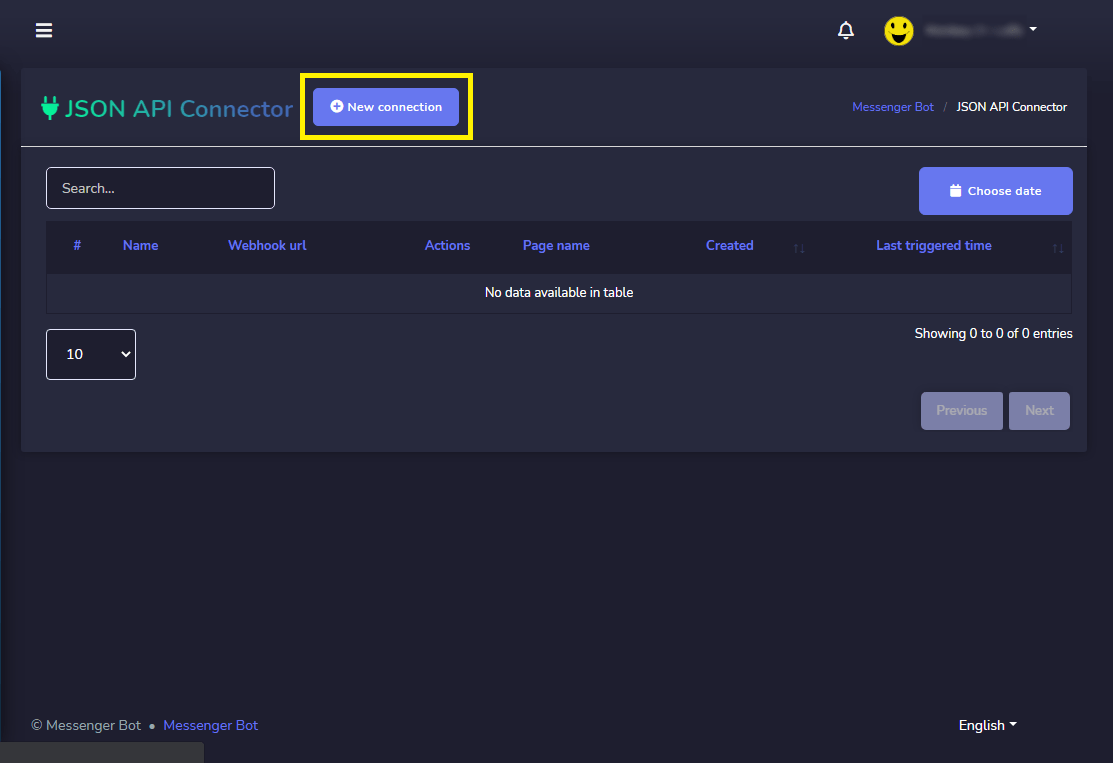
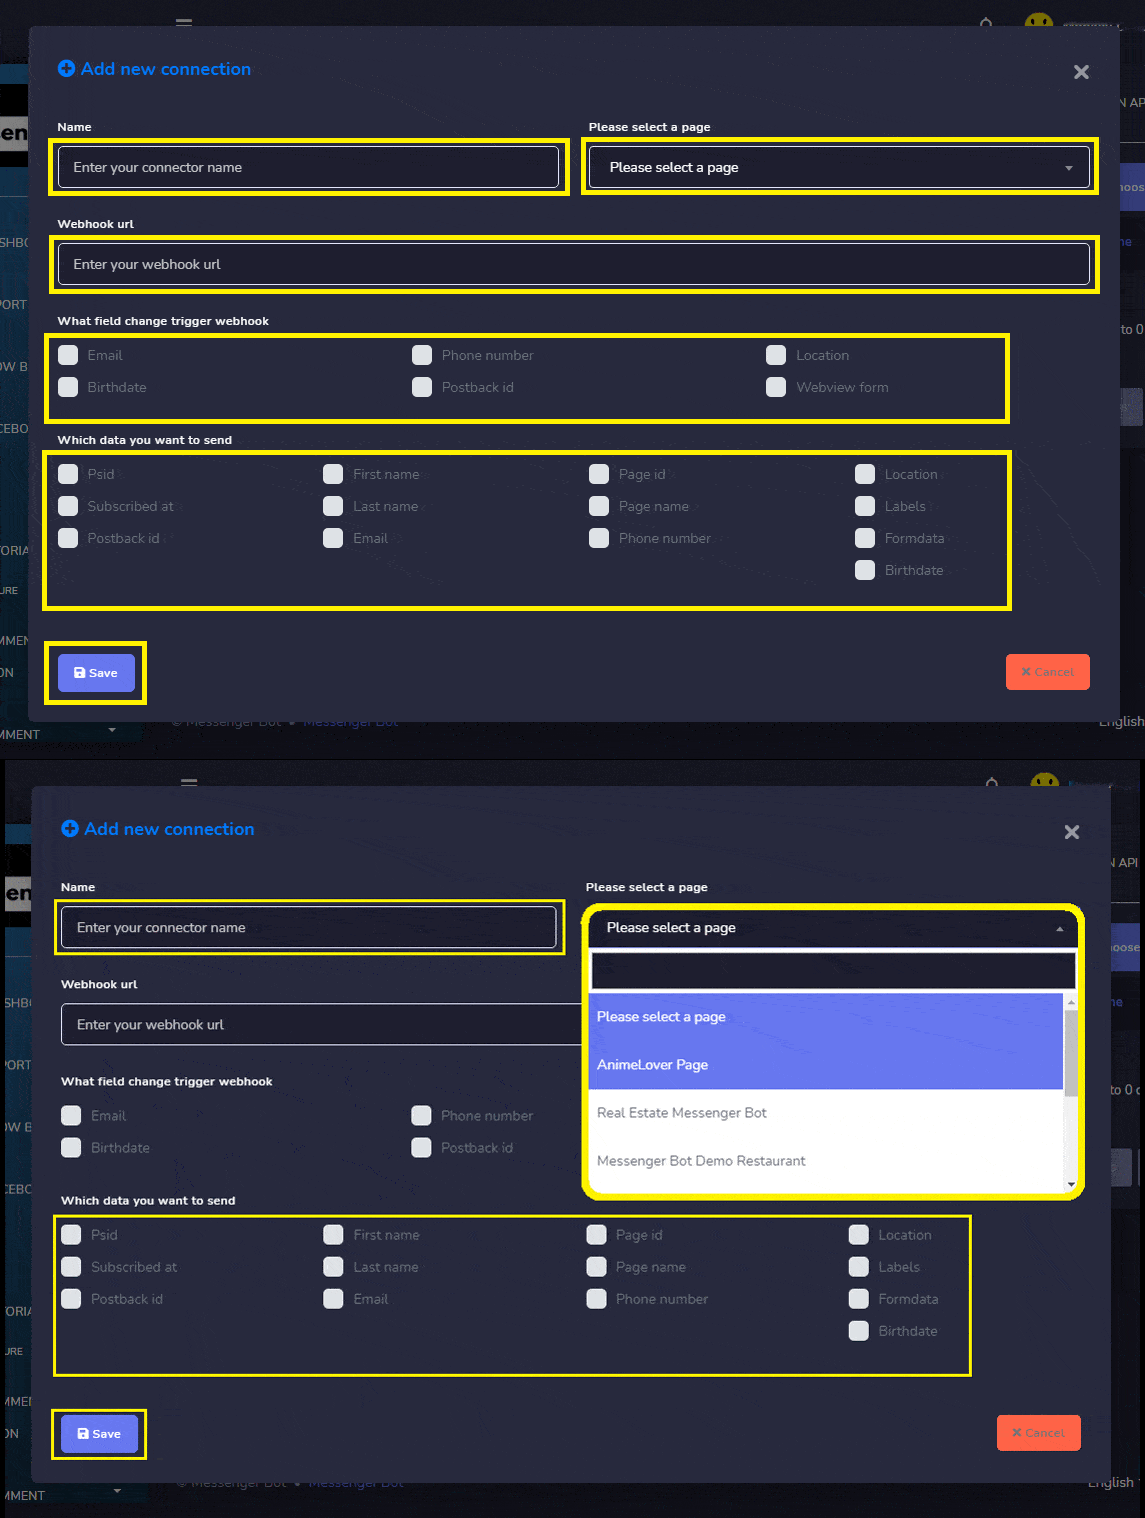
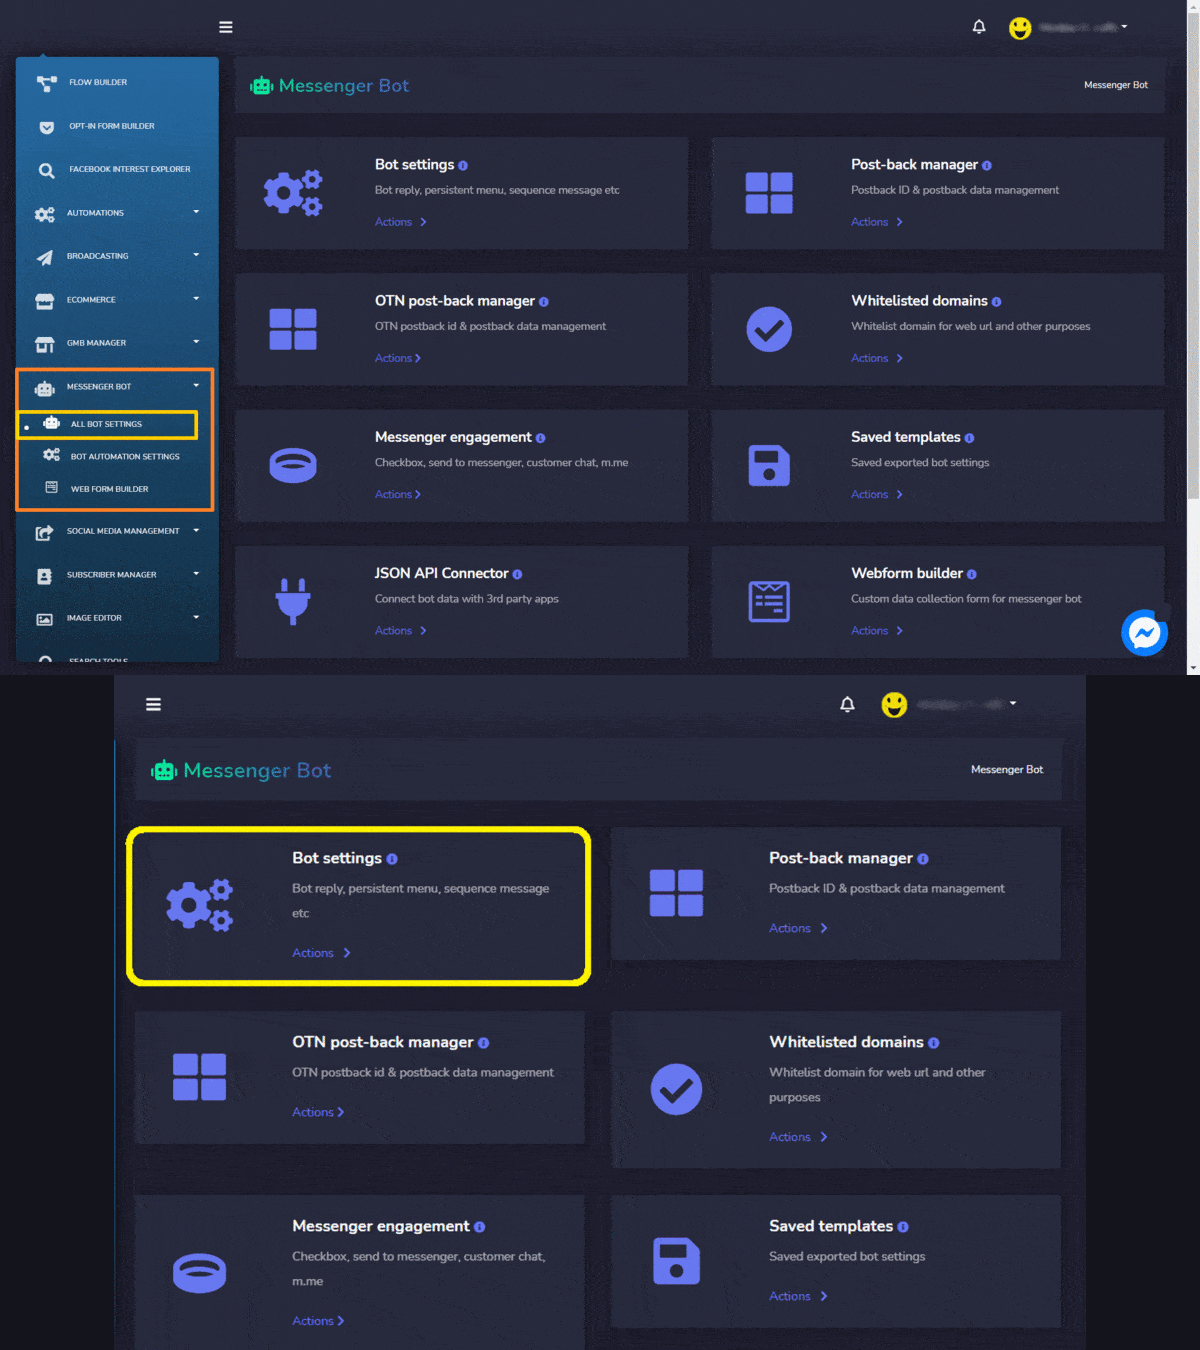
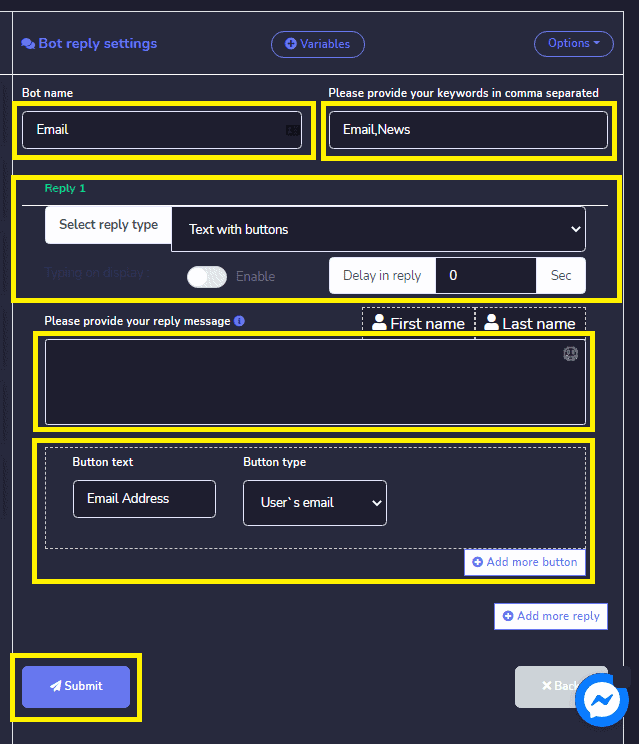
Select your reply type. Choose Text with Buttons. Or any reply type you wanted to perform.
Provide your reply message. Then, choose the Button Type and Name your Button text.
Click Submit when done.
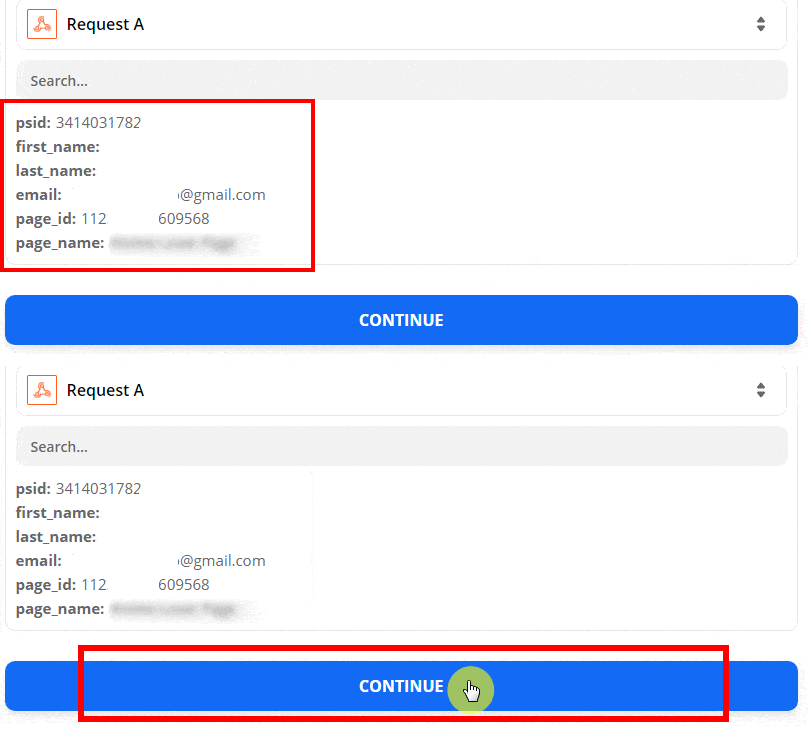
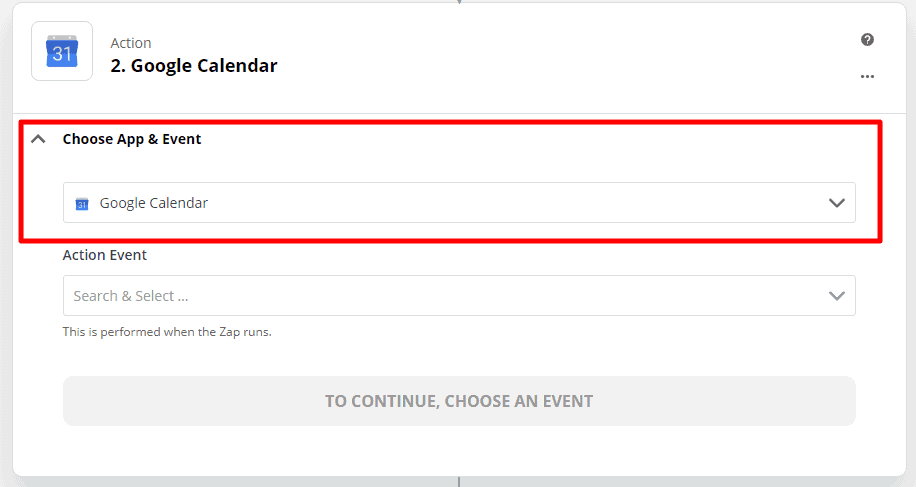
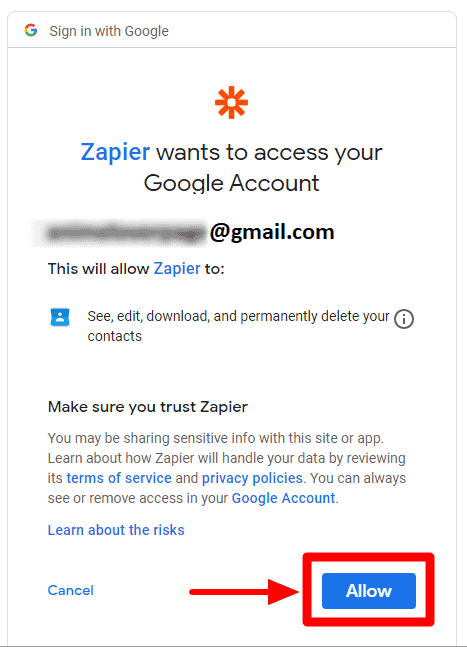
Choose an event and click Continue. Choose Account to Sign in to Google Docs. Choose your Google account to continue to Zapier. Then next, Zapier will want to access your Google Account. Click Allow.
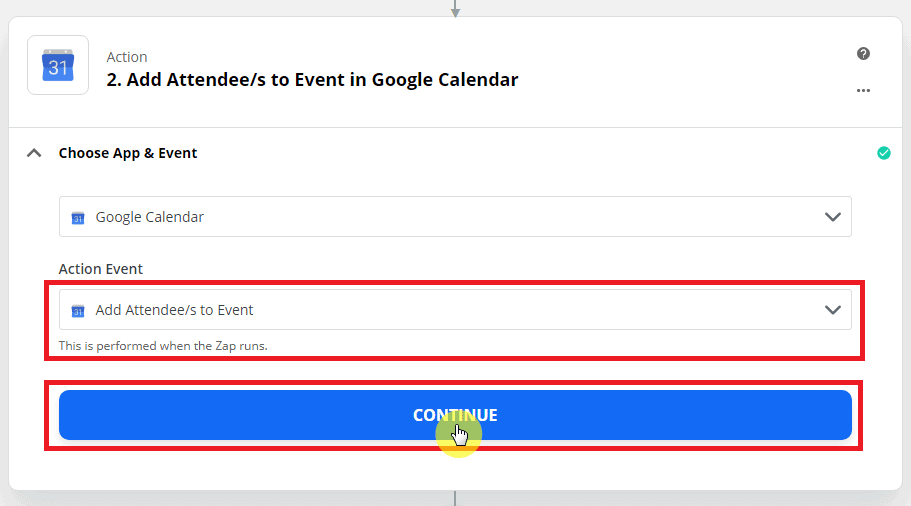
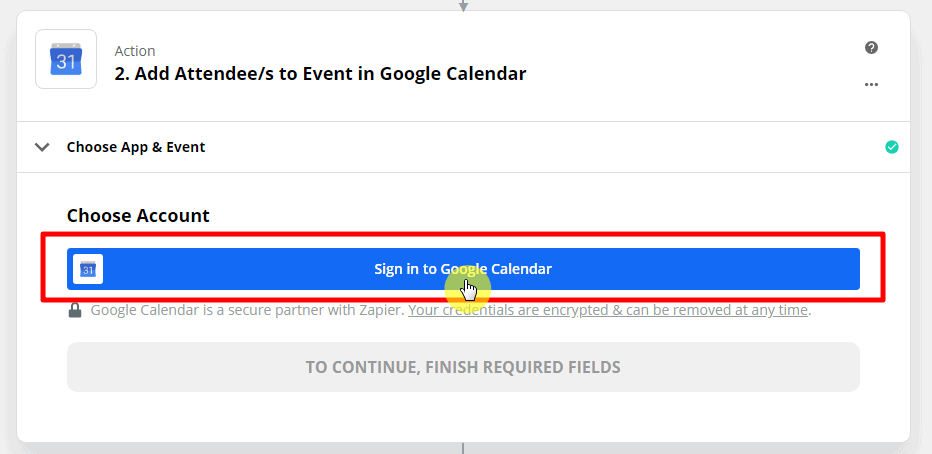
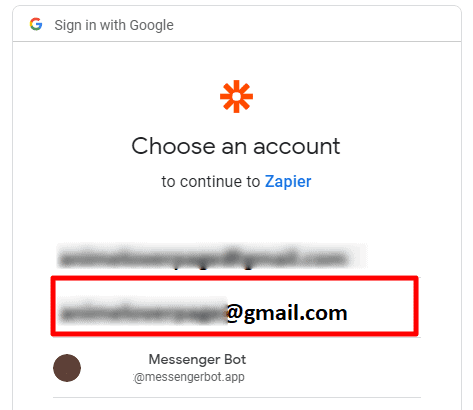
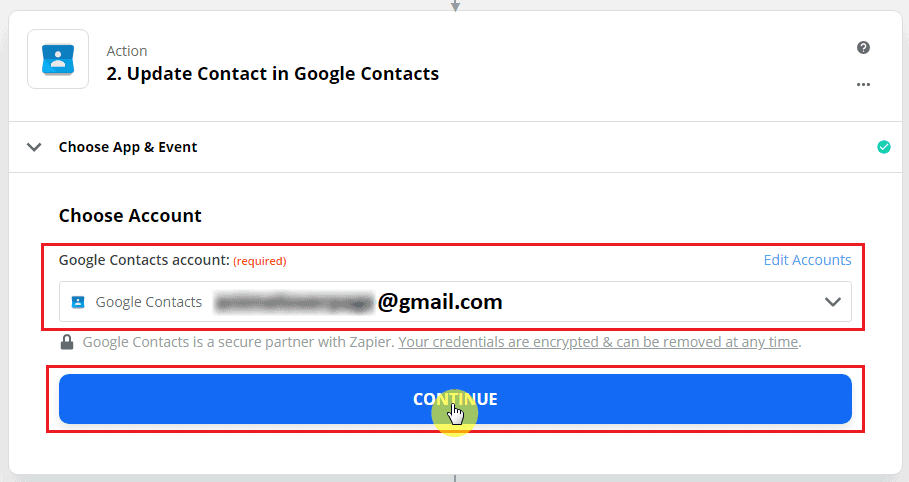
Click Continue after setting up a google account.
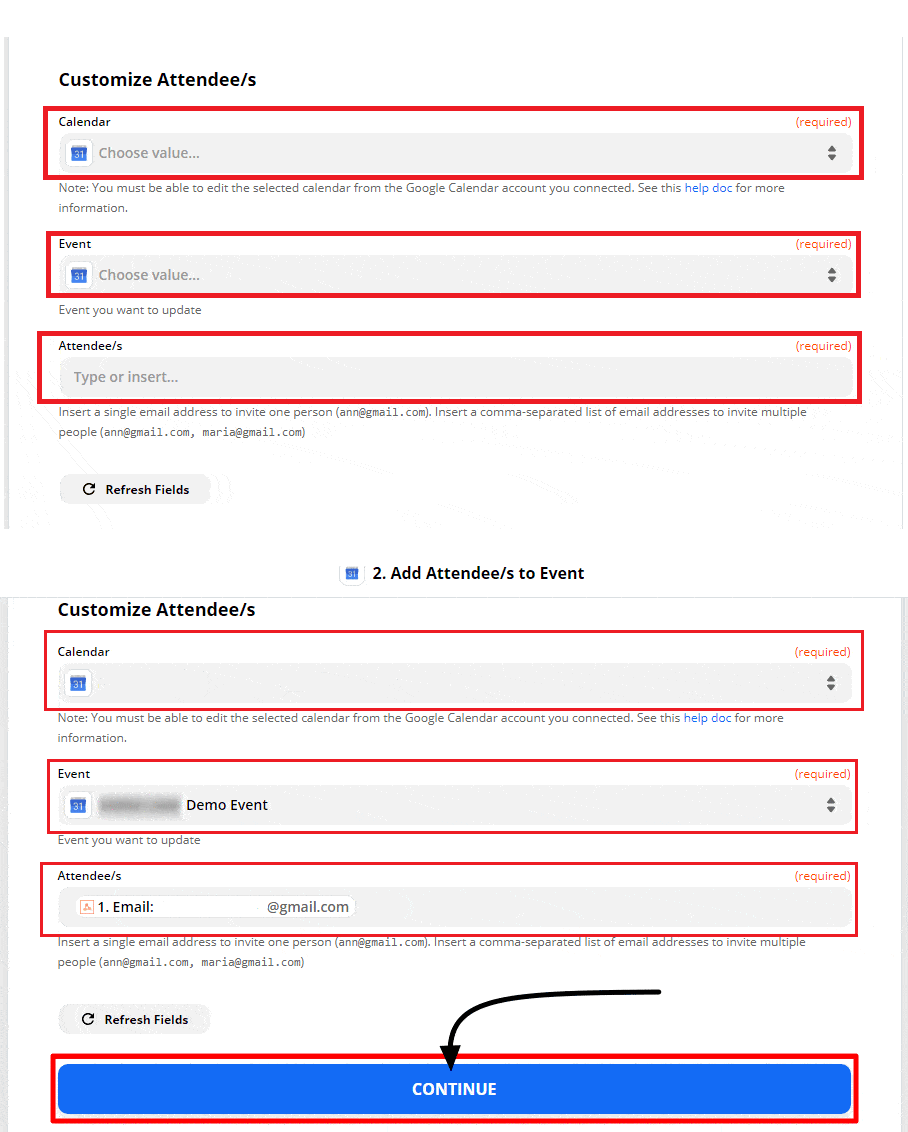
Customize the event and fill out the required requirements to fulfill the action. After filling out all the required information. Click Continue.
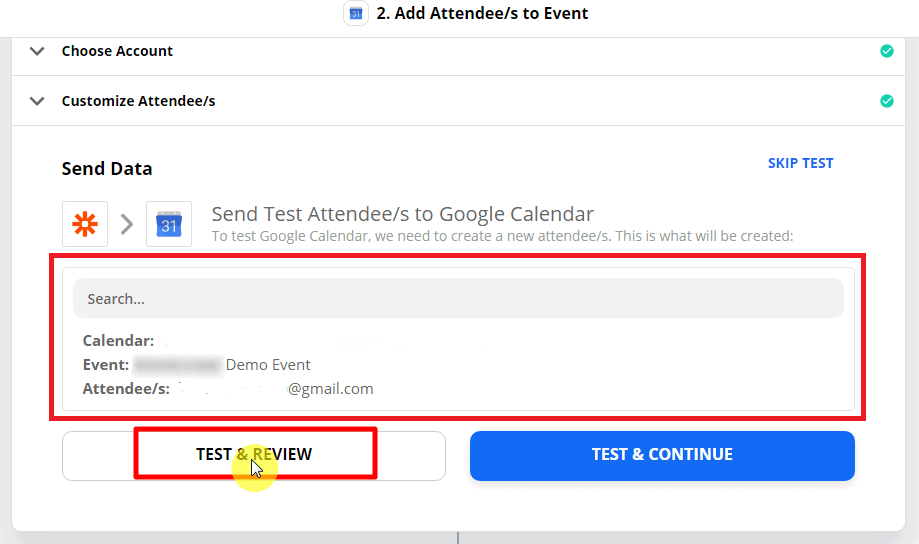
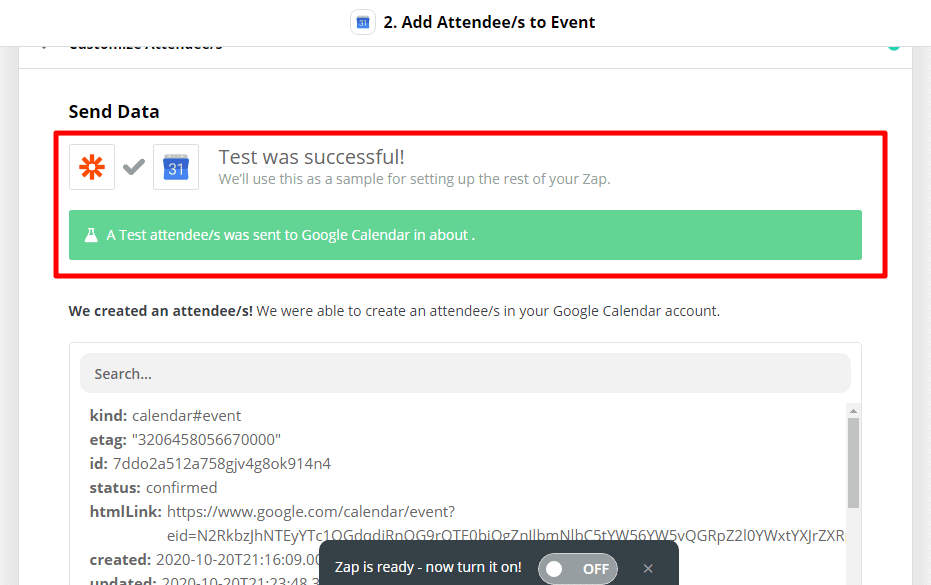
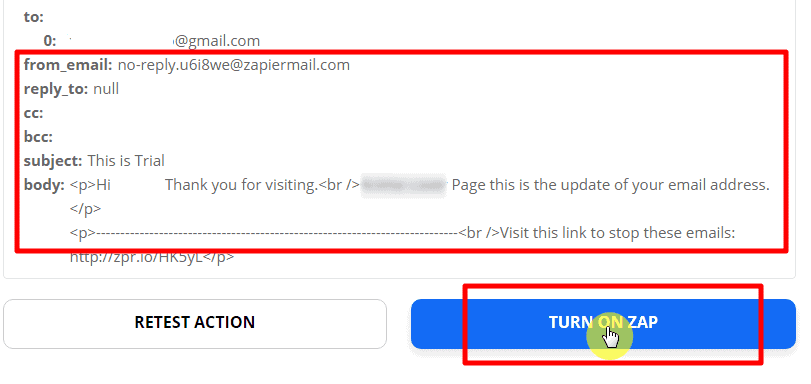
This is the summary of the action event. Next, click Test & Review. And the action was successfully created. The test result will show. and below, click Turn on Zap.
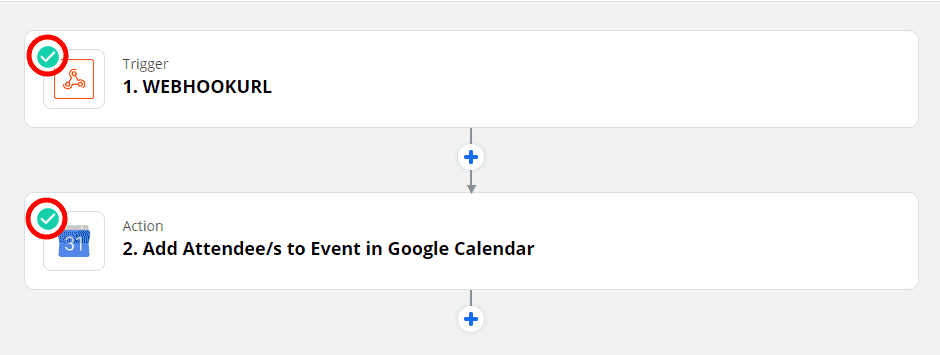
The green check indicates that the trigger and action event successfully Zap On.
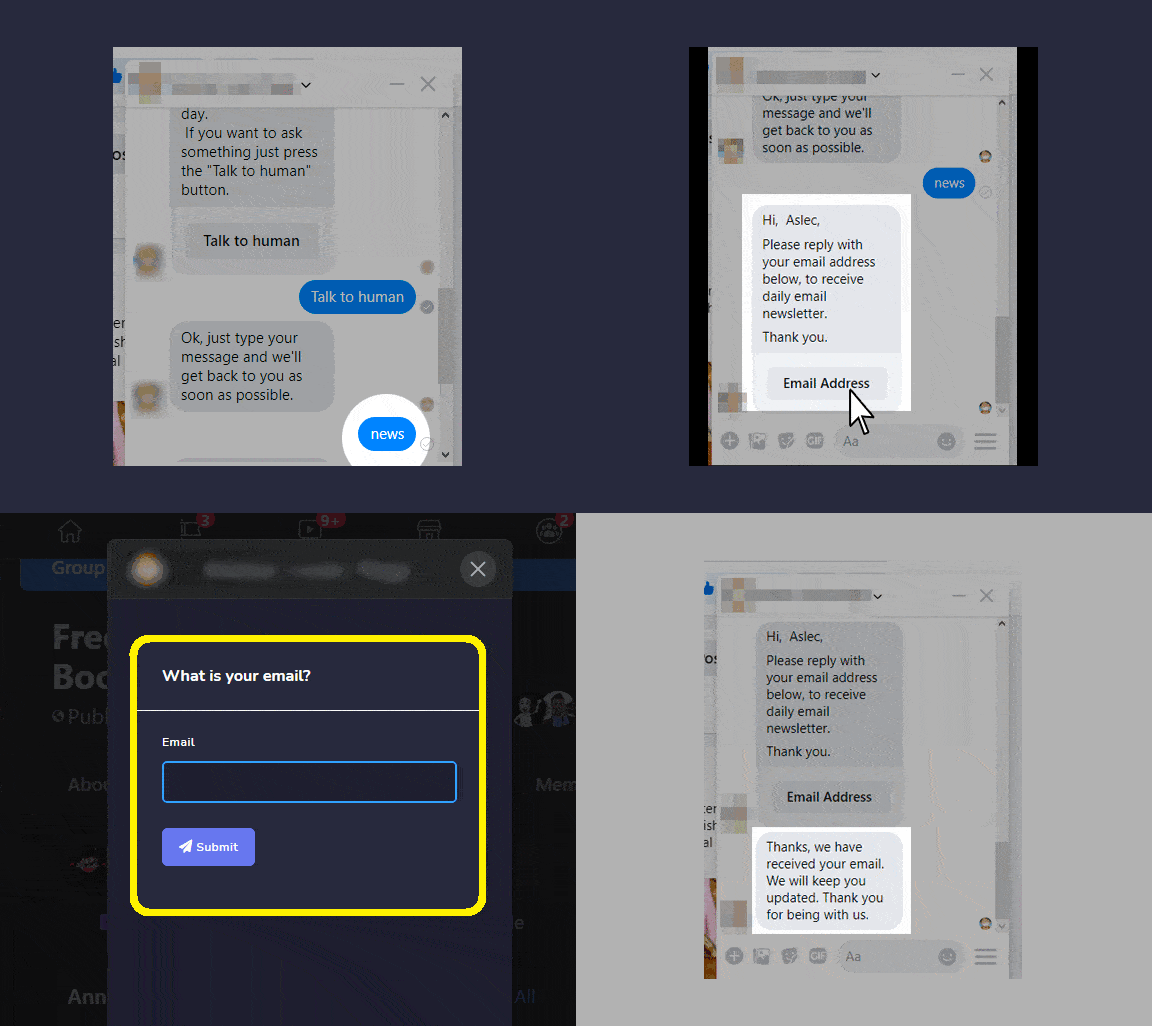
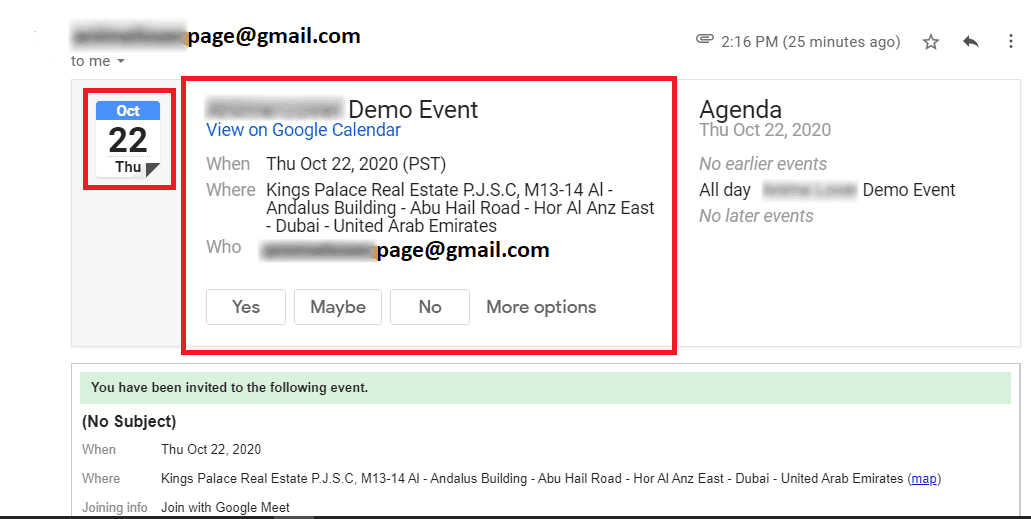
This is the Demo event sent to Facebook Page Subscriber.
Now you’re ready to make your own integration just follow the step-by-step process and integrate with your Messenger Bot.
