Social Poster
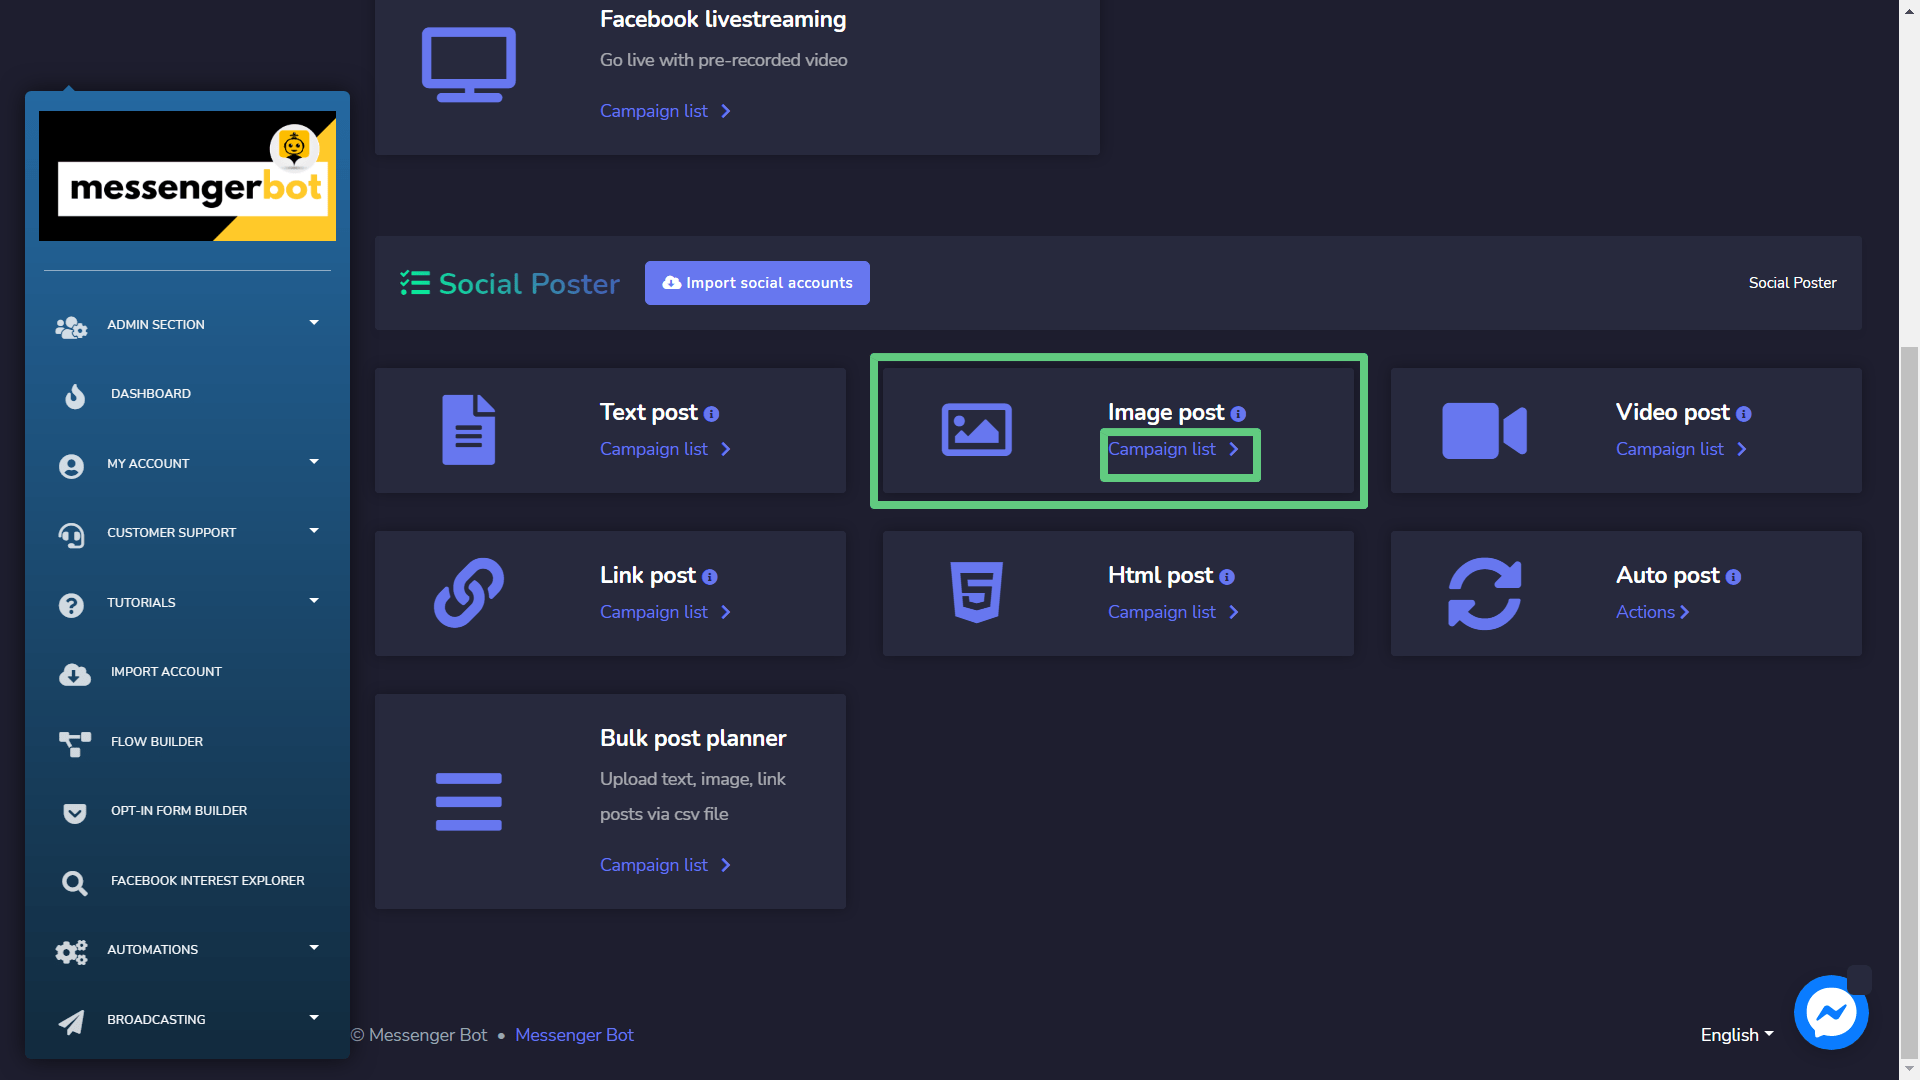
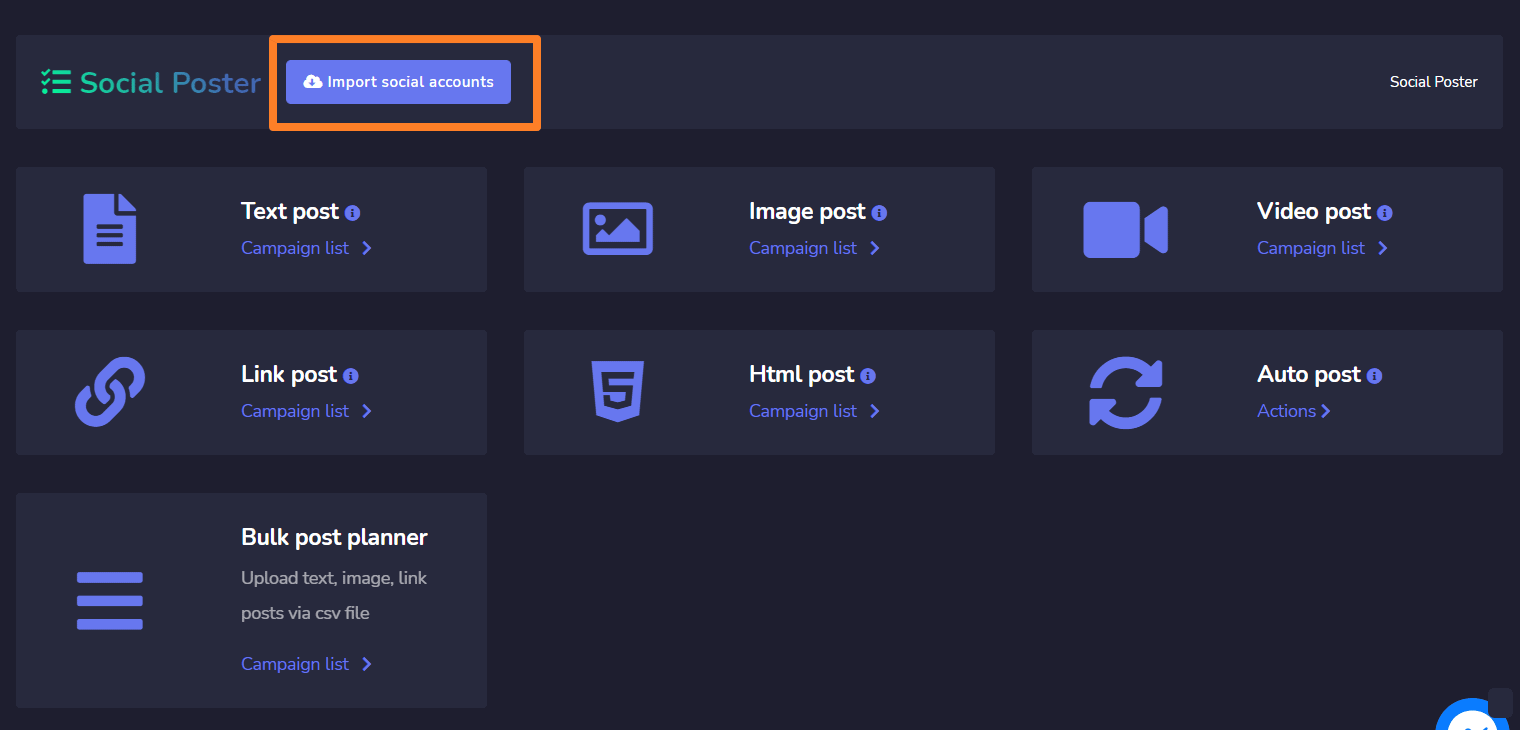
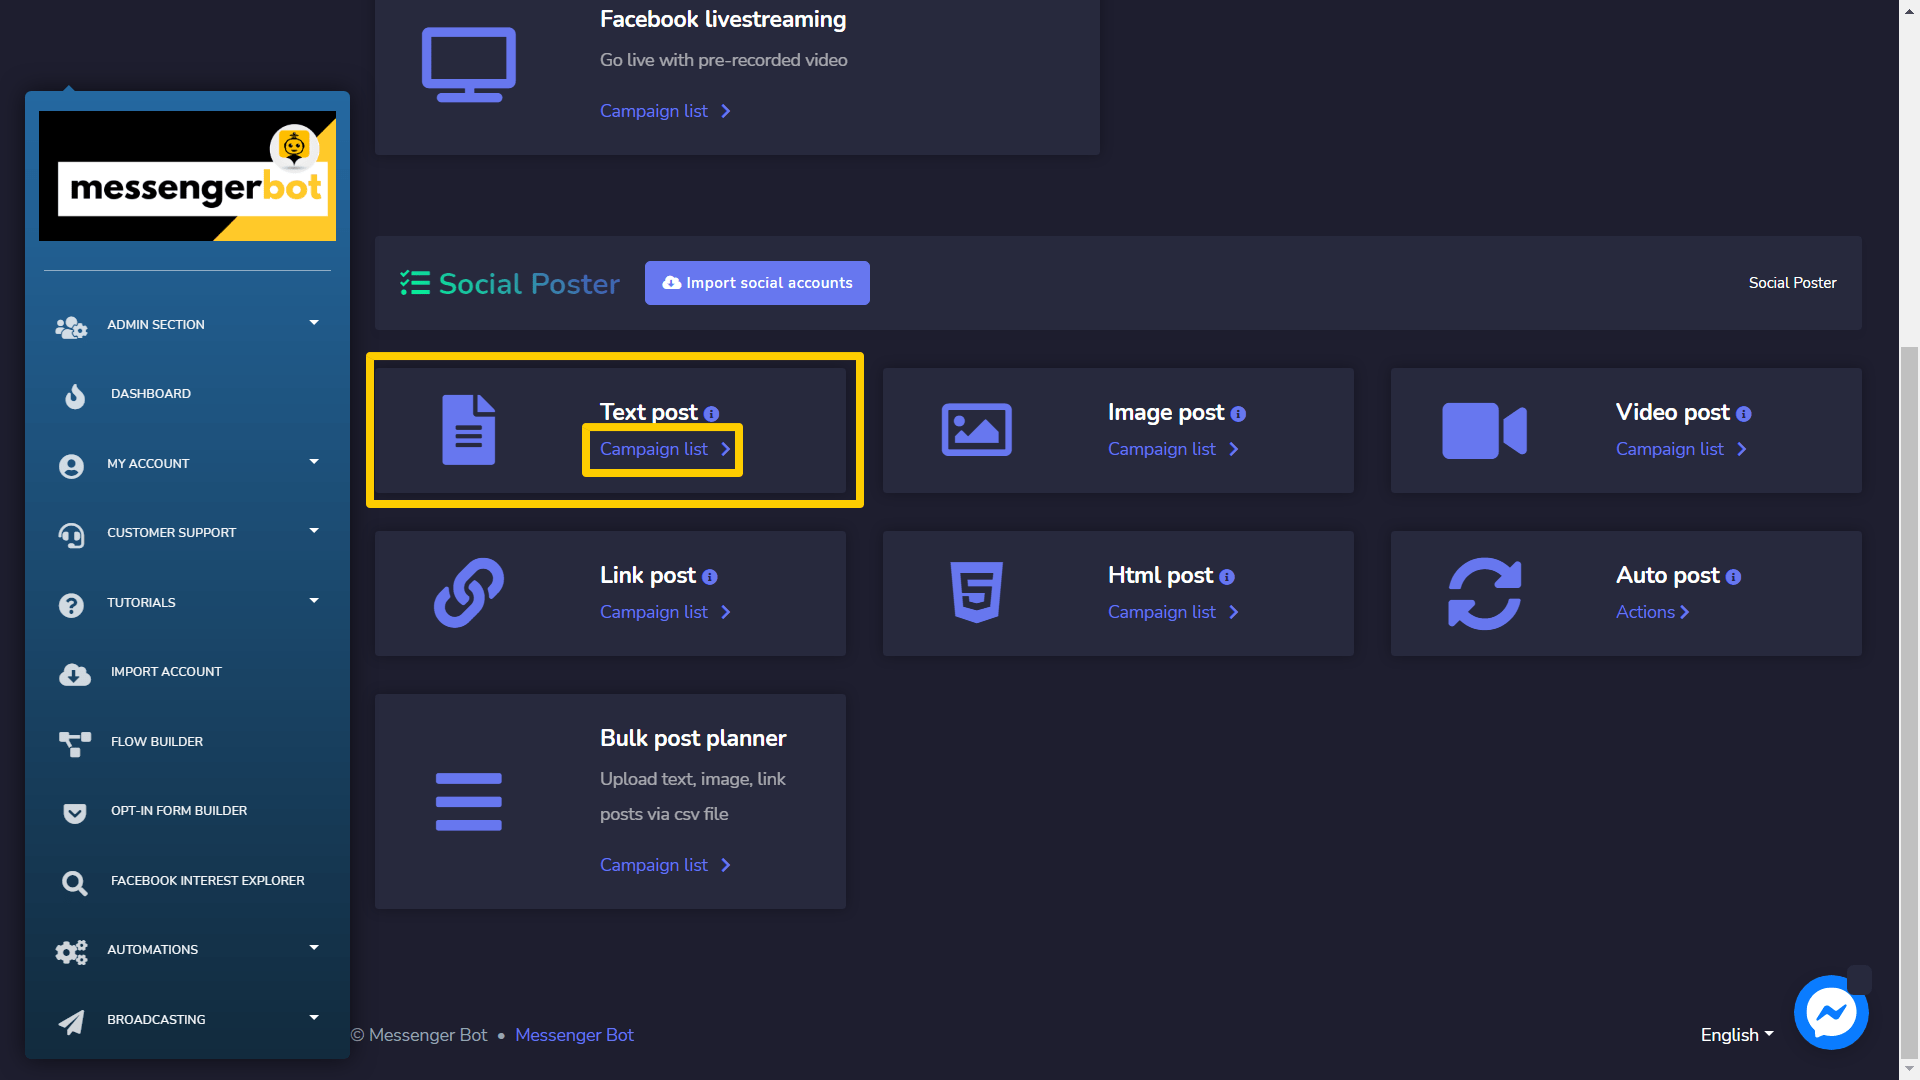
The social poster is used to manage all activities from a different account on one platform. This section further consists of the following seven parts:
- Text Post
- Image Post
- Video Post
- Link Post
- Html Post
- Auto post
- Bulk post planner.
The details of these will be discussed in upcoming sections and start with Import social accounts.
Import social accounts
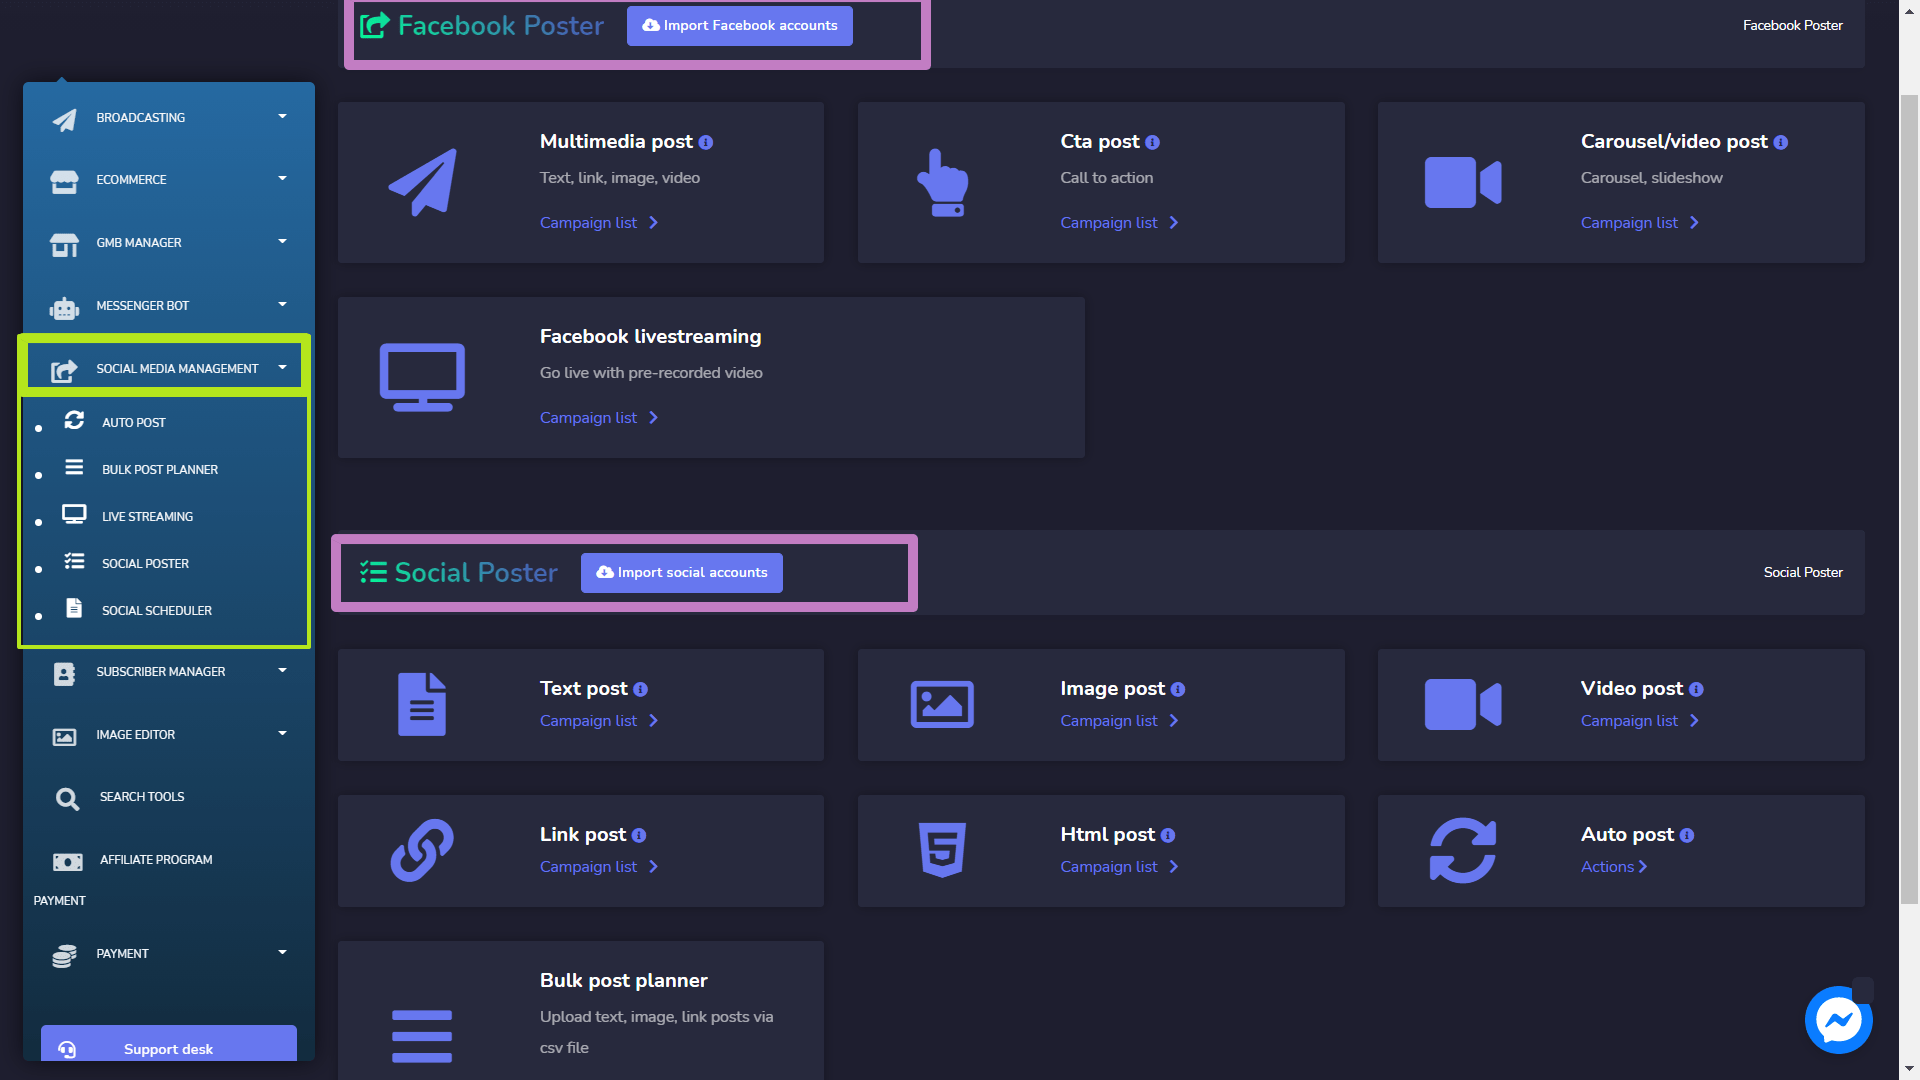
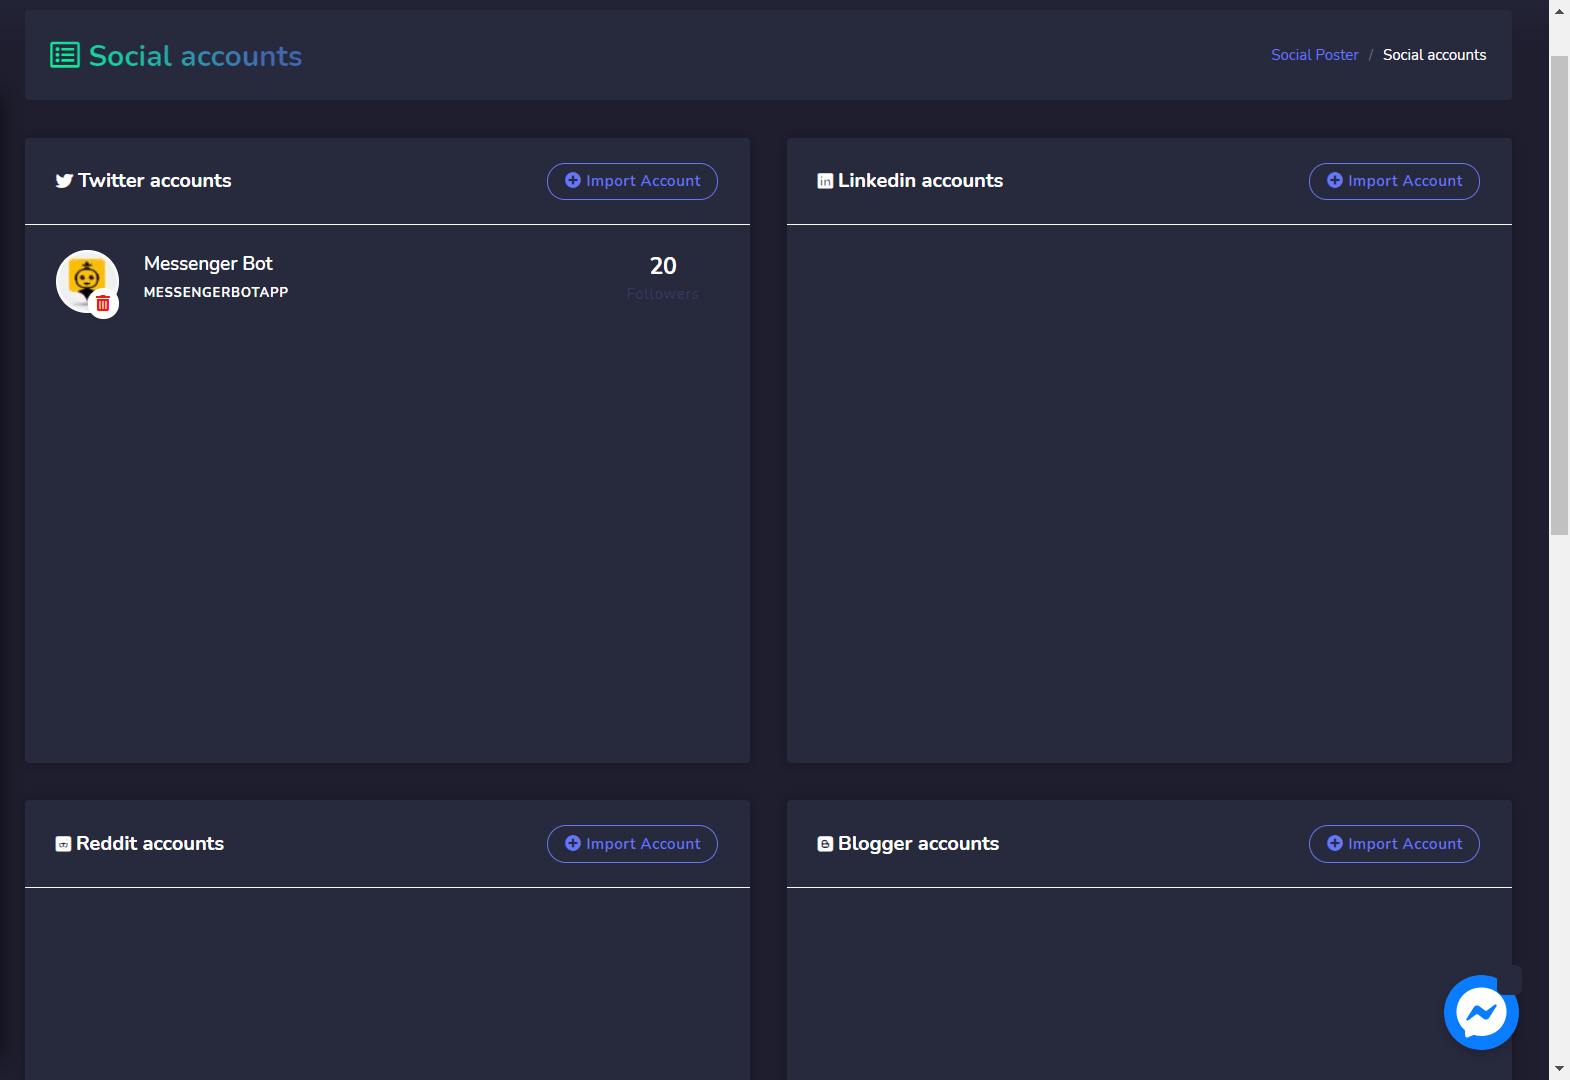
To access this section, you need to make sure that all your social accounts have already been imported. Tab on Import social accounts.
A Social accounts window will appear on the screen and we will demo to you some of it.
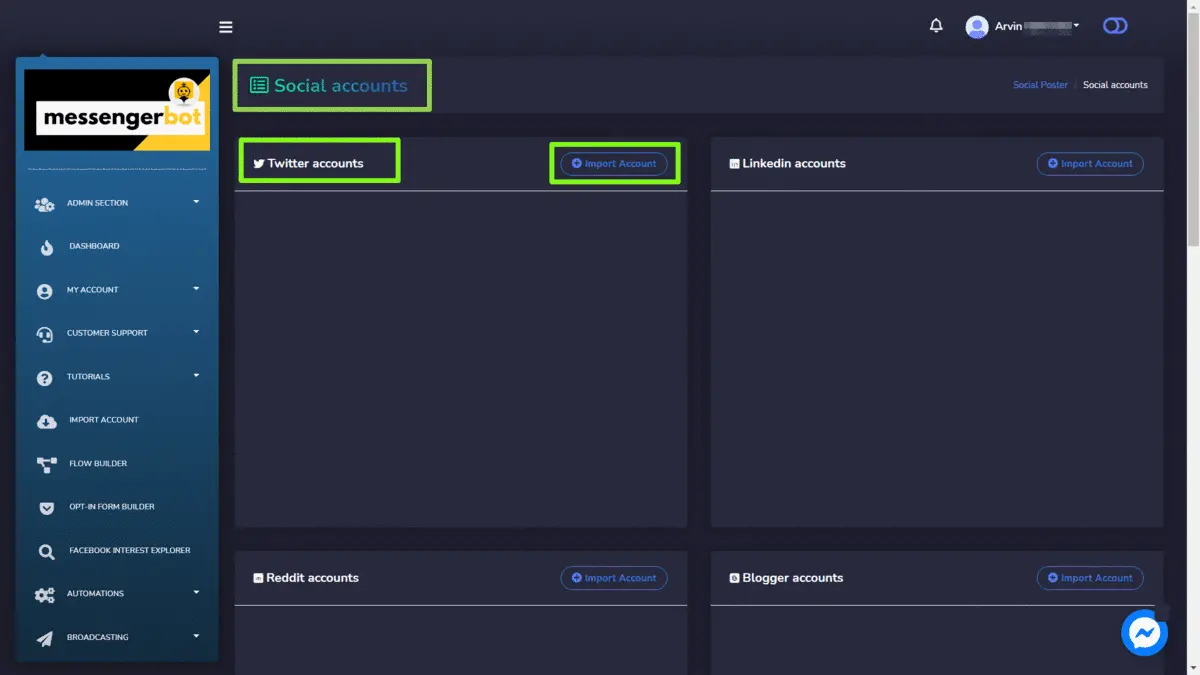
Twitter accounts
To import your Twitter account, follow the steps given below:
- Select
from the Twitter accounts.
- You will be redirected to twitter’s authorization page view.
- Select Authorize app button, once done you will be redirected back to the application.
Reddit accounts
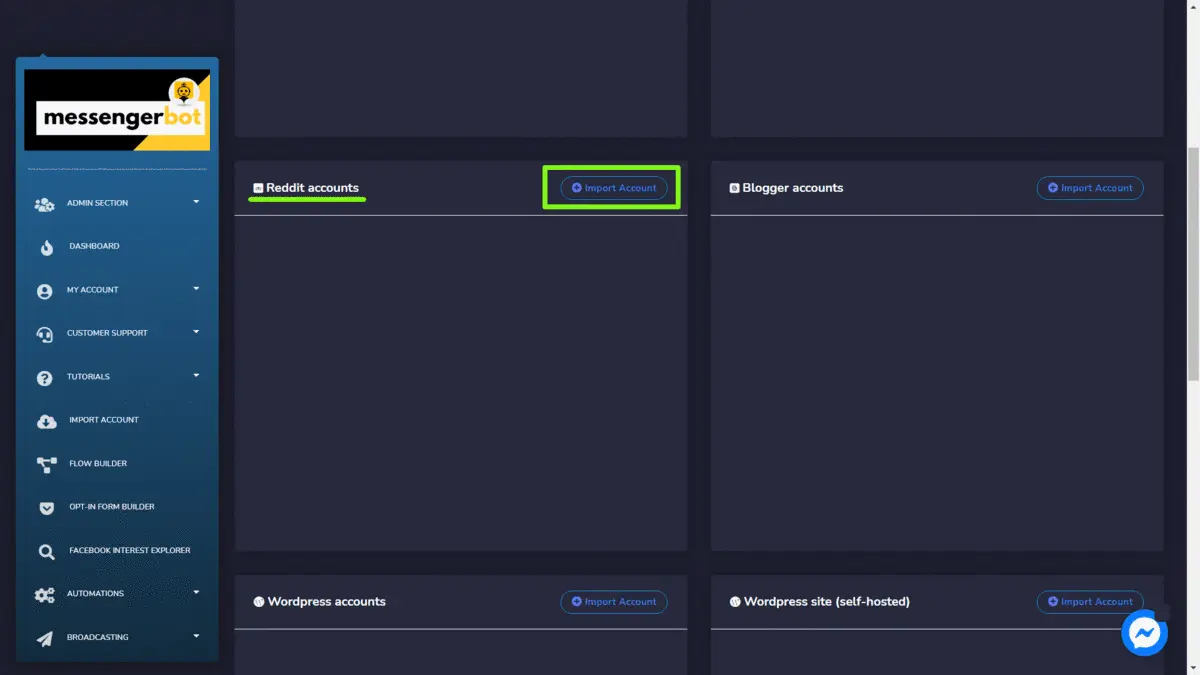
To import your Reddit account, follow the steps given below:
- Select
from the Reddit accounts.
- If already signed in, you will be redirected to Reddit authorization page view.
- Select Allow to all permissions. Once done you will be redirected back to the application.
Blogger accounts
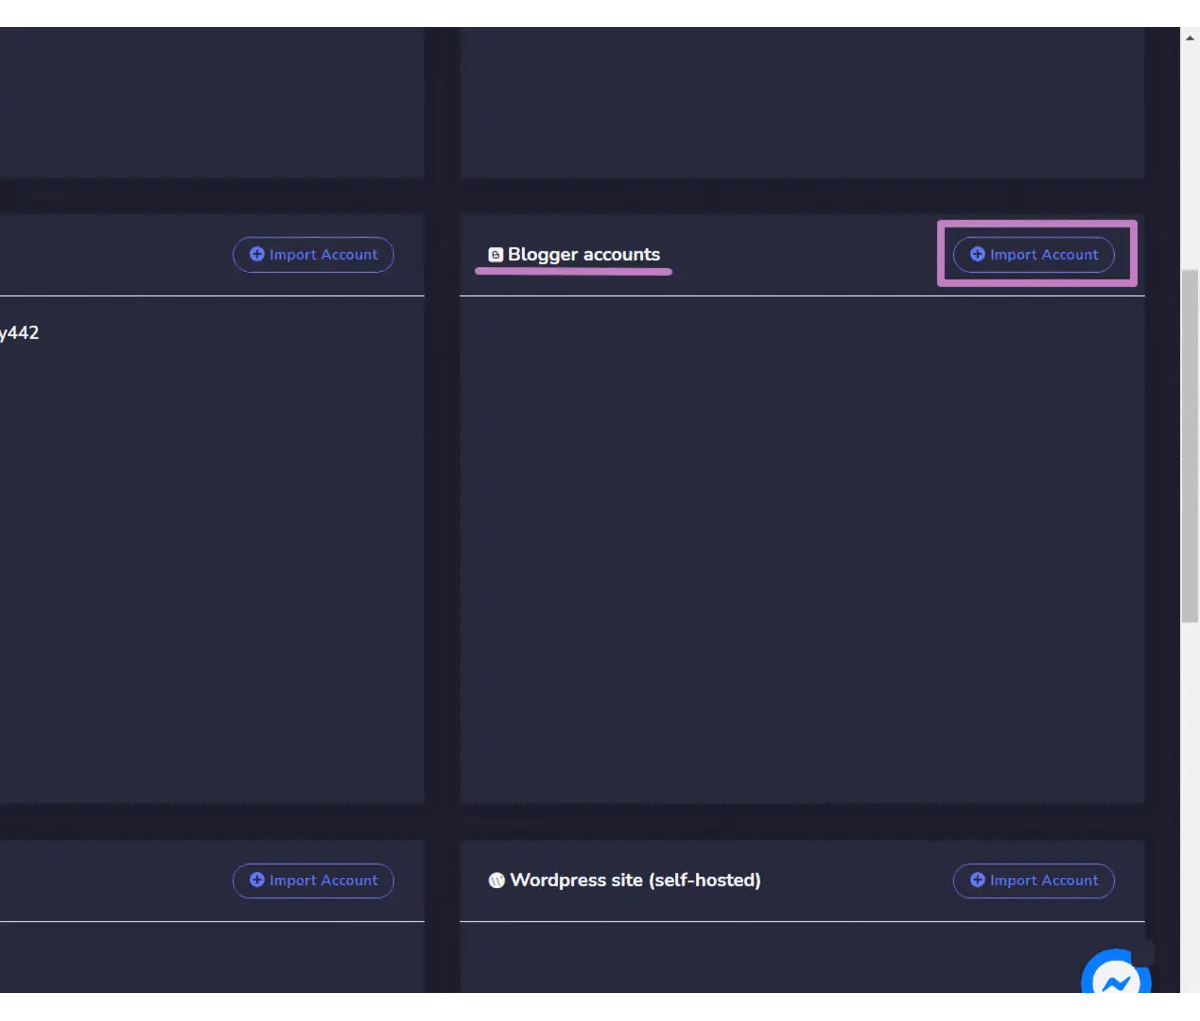
To import your Blogger account, follow the steps given below:
- Select
from the Blogger accounts
- Select the account which you want to use.
- Select Allow to all permissions. Once done you will be redirected back to the application.
WordPress accounts
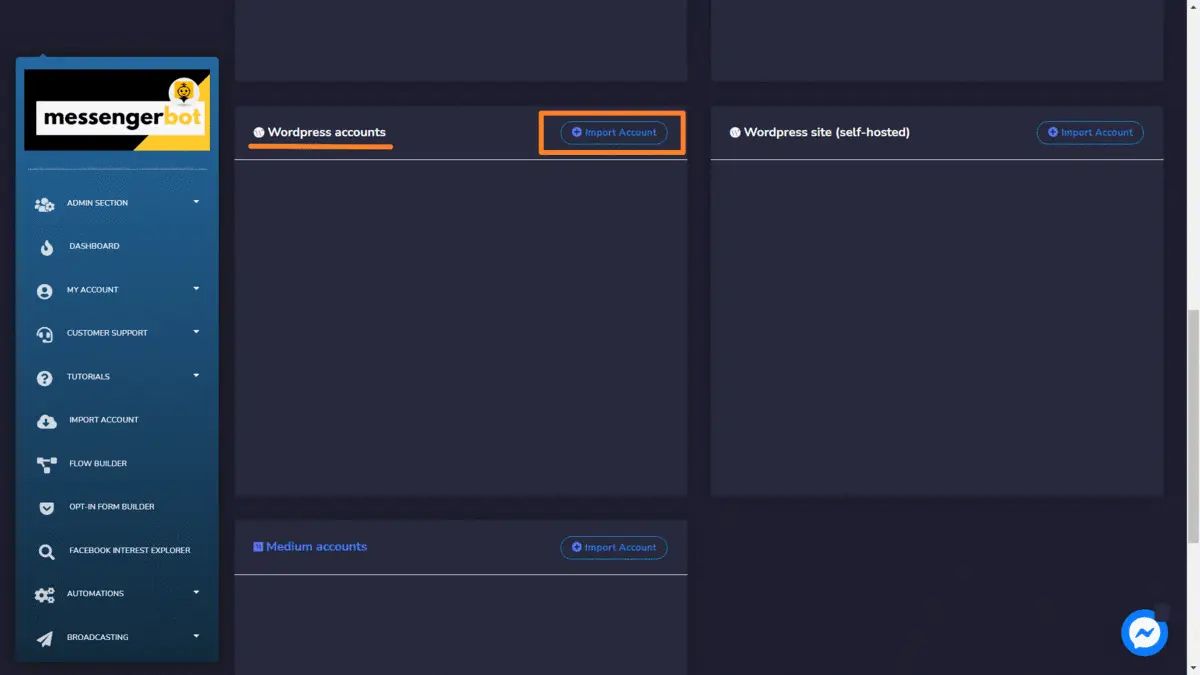
To import your WordPress account, follow the steps given below:
- Select
from the top left of the WordPress accounts
- Select the account which you want to use.
- Select Allow to all permissions. Once done you will be redirected back to the application.
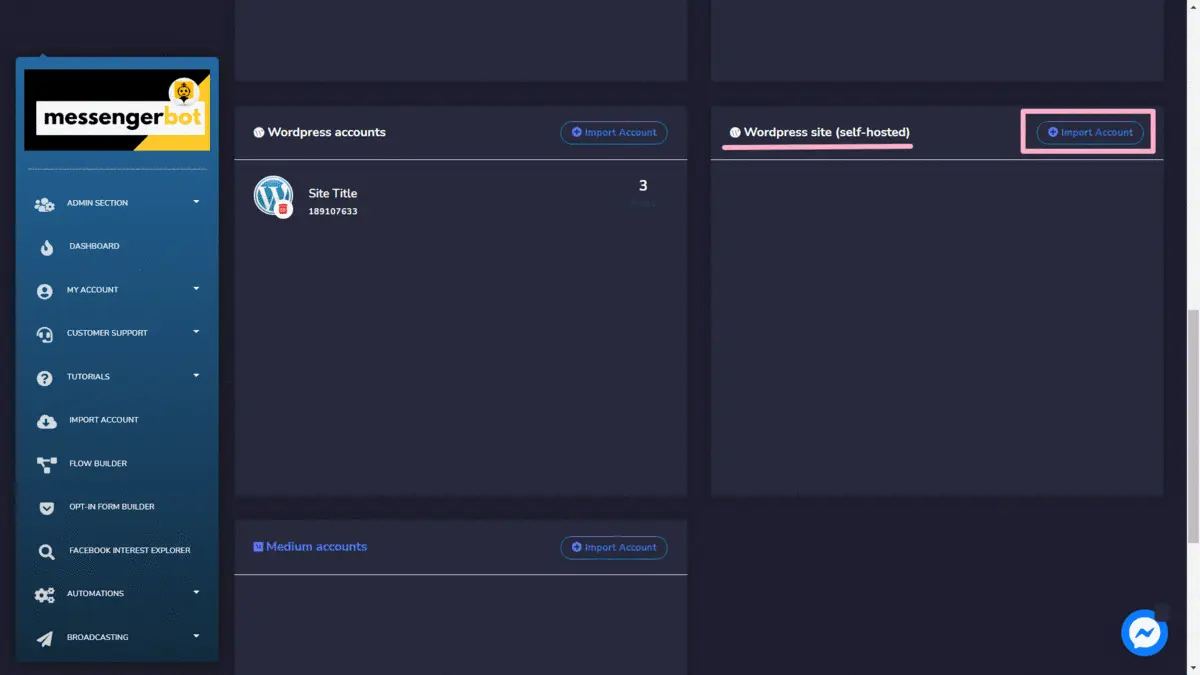
WordPress site (self-hosted)
To import your WordPress site (self-hosted), follow the steps given below:
- Select
from the top left of the WordPress site (self-hosted)
- You will be redirected to WordPress site (self-hosted)
- You can add new site by selecting the Add new site
- Provide the Domain name, User key and Authentication key, then select Save.
- You can also download the API plugin by selecting Download API Plugin from WordPress site (self-hosted)
- Once your account is imported you can refresh. edit and delete it from the table.
- Refresh the site with the refresh button.
- Click the edit button, perform your changes here, then hit Save.
- if you want to delete, click the delete button. A modal of delete confirmation will appear. Hit OK to confirm.
Text Post
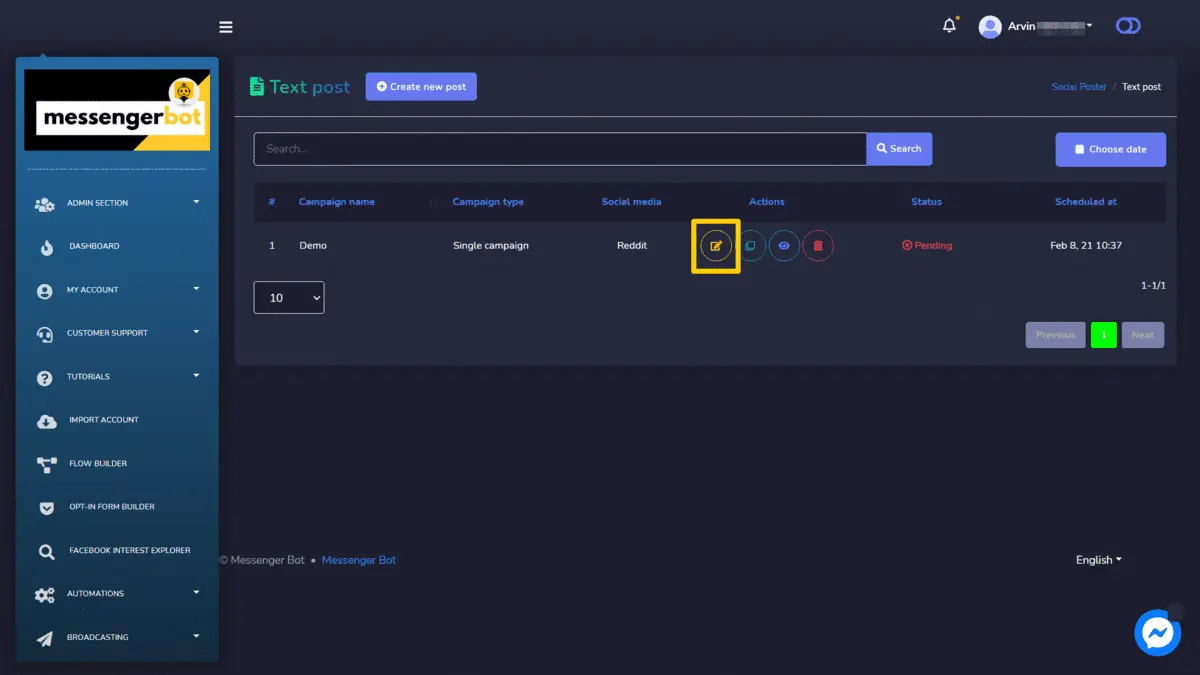
To access the Text post section, select the Campaign list option from Text Post section.
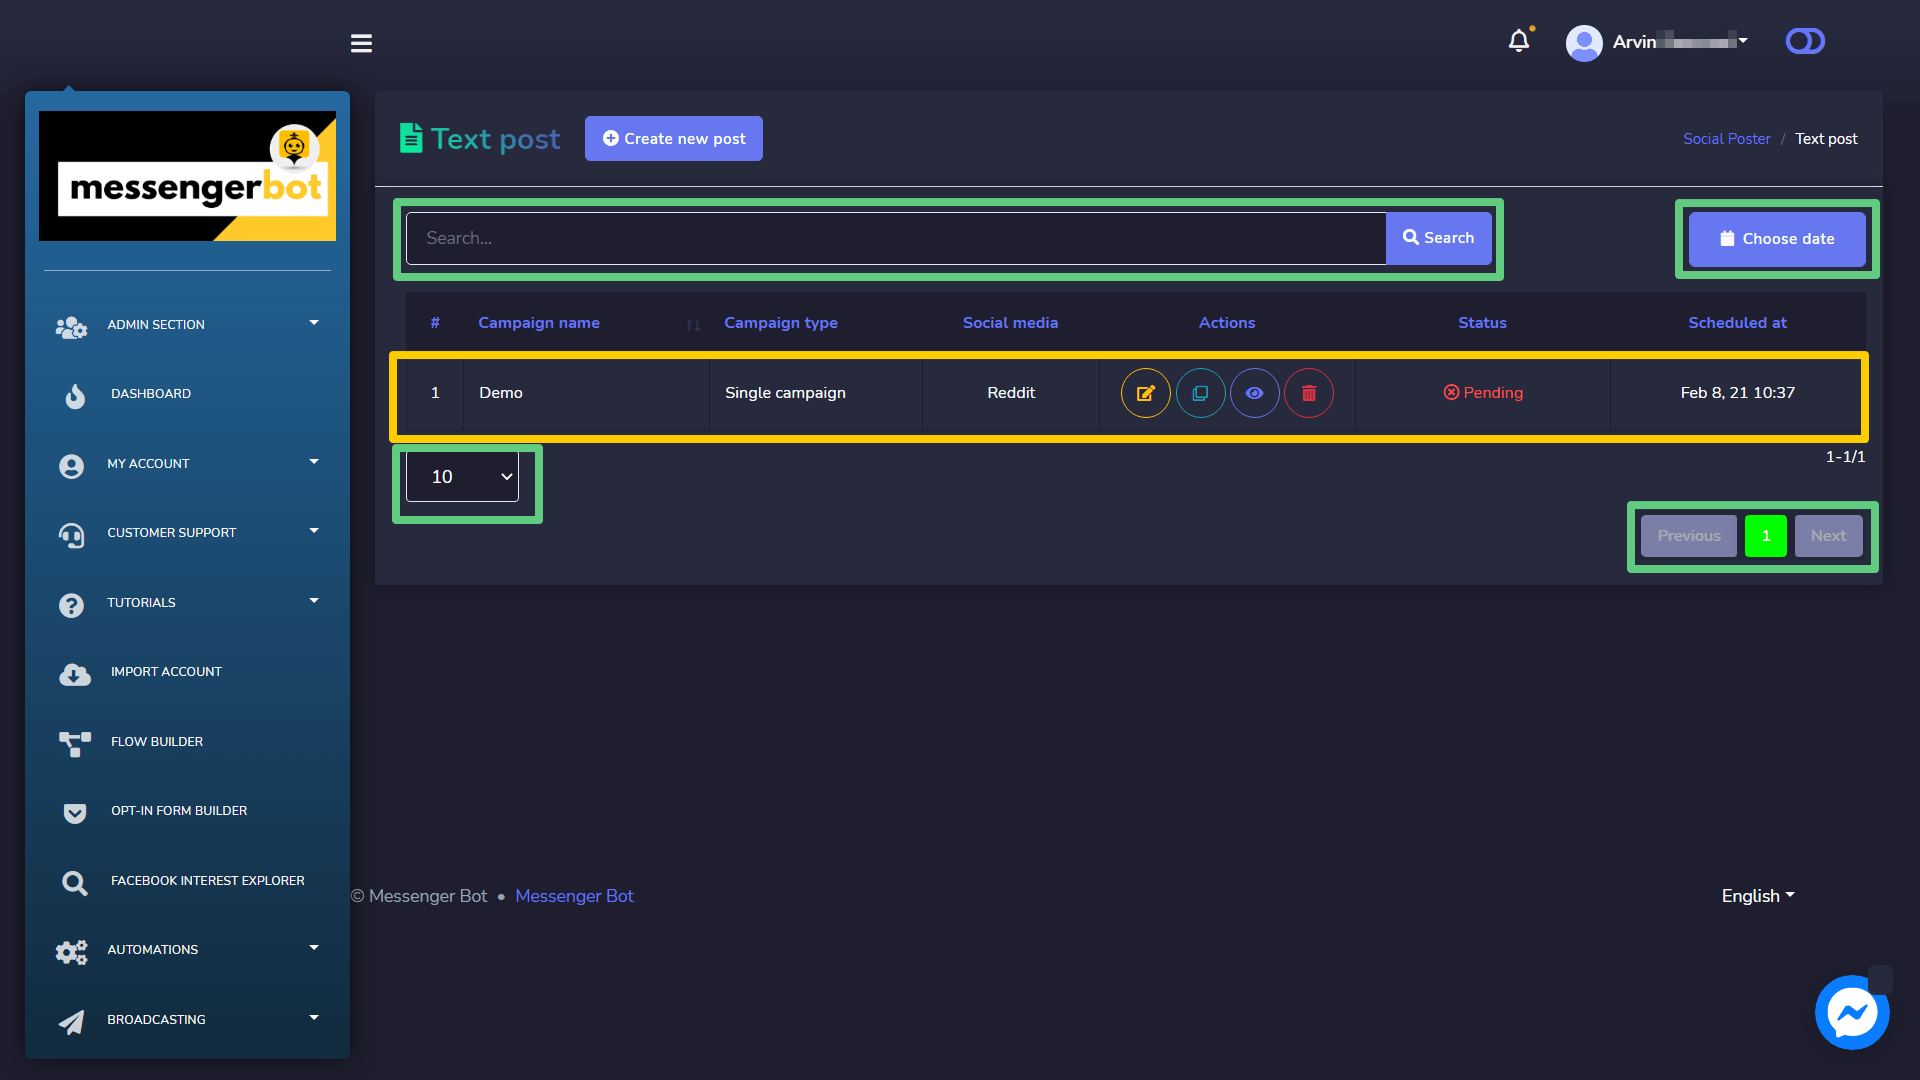
A Text post screen will appear, it consists of a list of campaign types and campaign names you can search for a campaign by using the search bar. You can adjust the number of campaigns to be viewed per page. You can choose the date range for the narrowed search. You can also sort them out based on their status. You can arrange the names either in ascending or descending order by using the arrows in the header of the table.
- Edit a campaign.
- Clone the campaign by selecting
.
- View the campaign report by selecting
.
- Delete a campaign
Create new Text Post
To create a new Text post, follow the steps given below:
- Select
from Text post screen.
- Provide a Campaign name and a
- Select a Posting time for the text post.
- Select the social accounts from which this needs to be posted.
- Once selected all required options, you need to select Create campaign
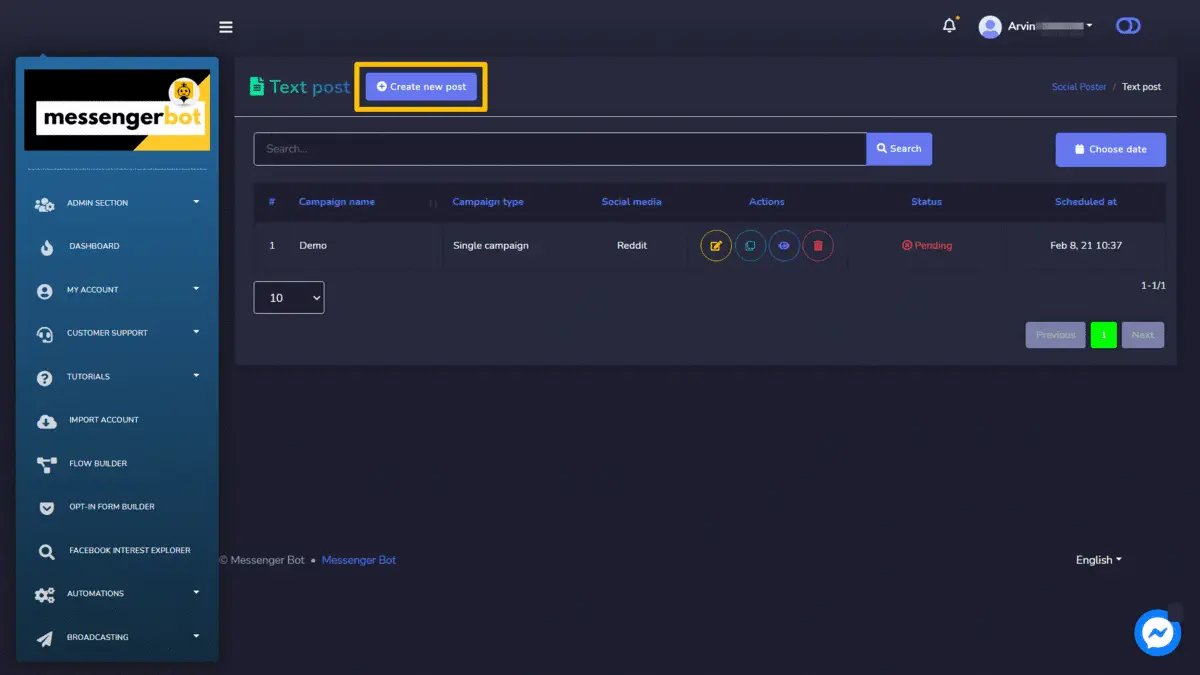
Image Post
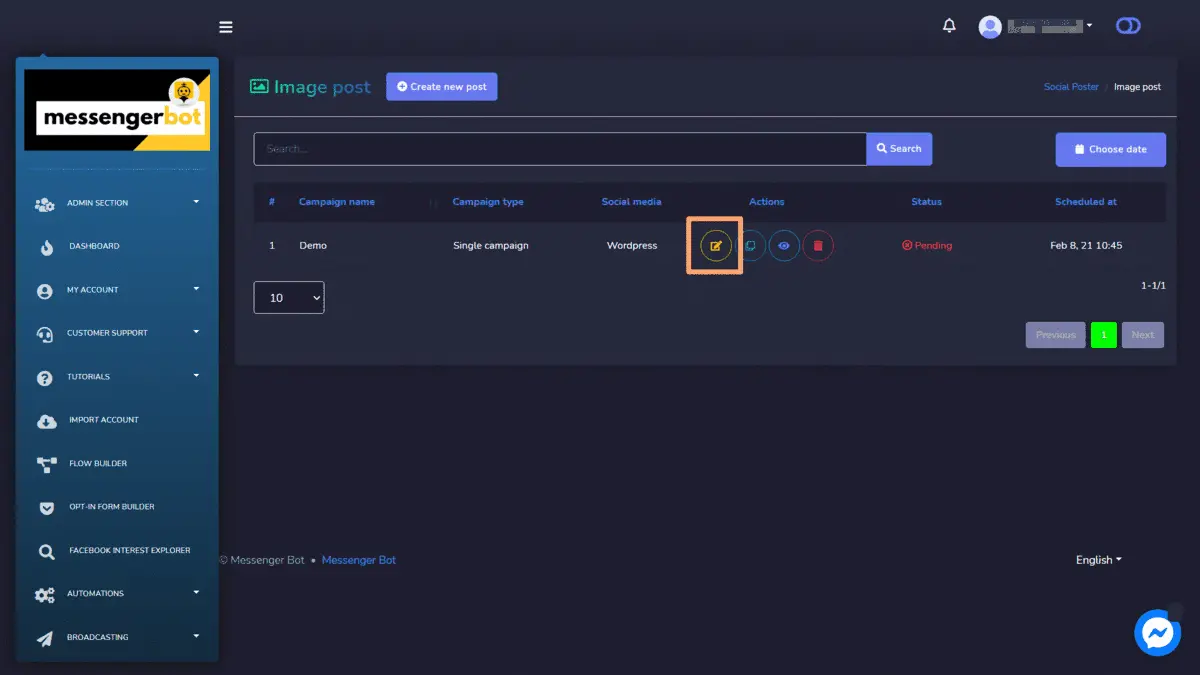
To access the Image post section, select the Campaign list option from the Image Post section.
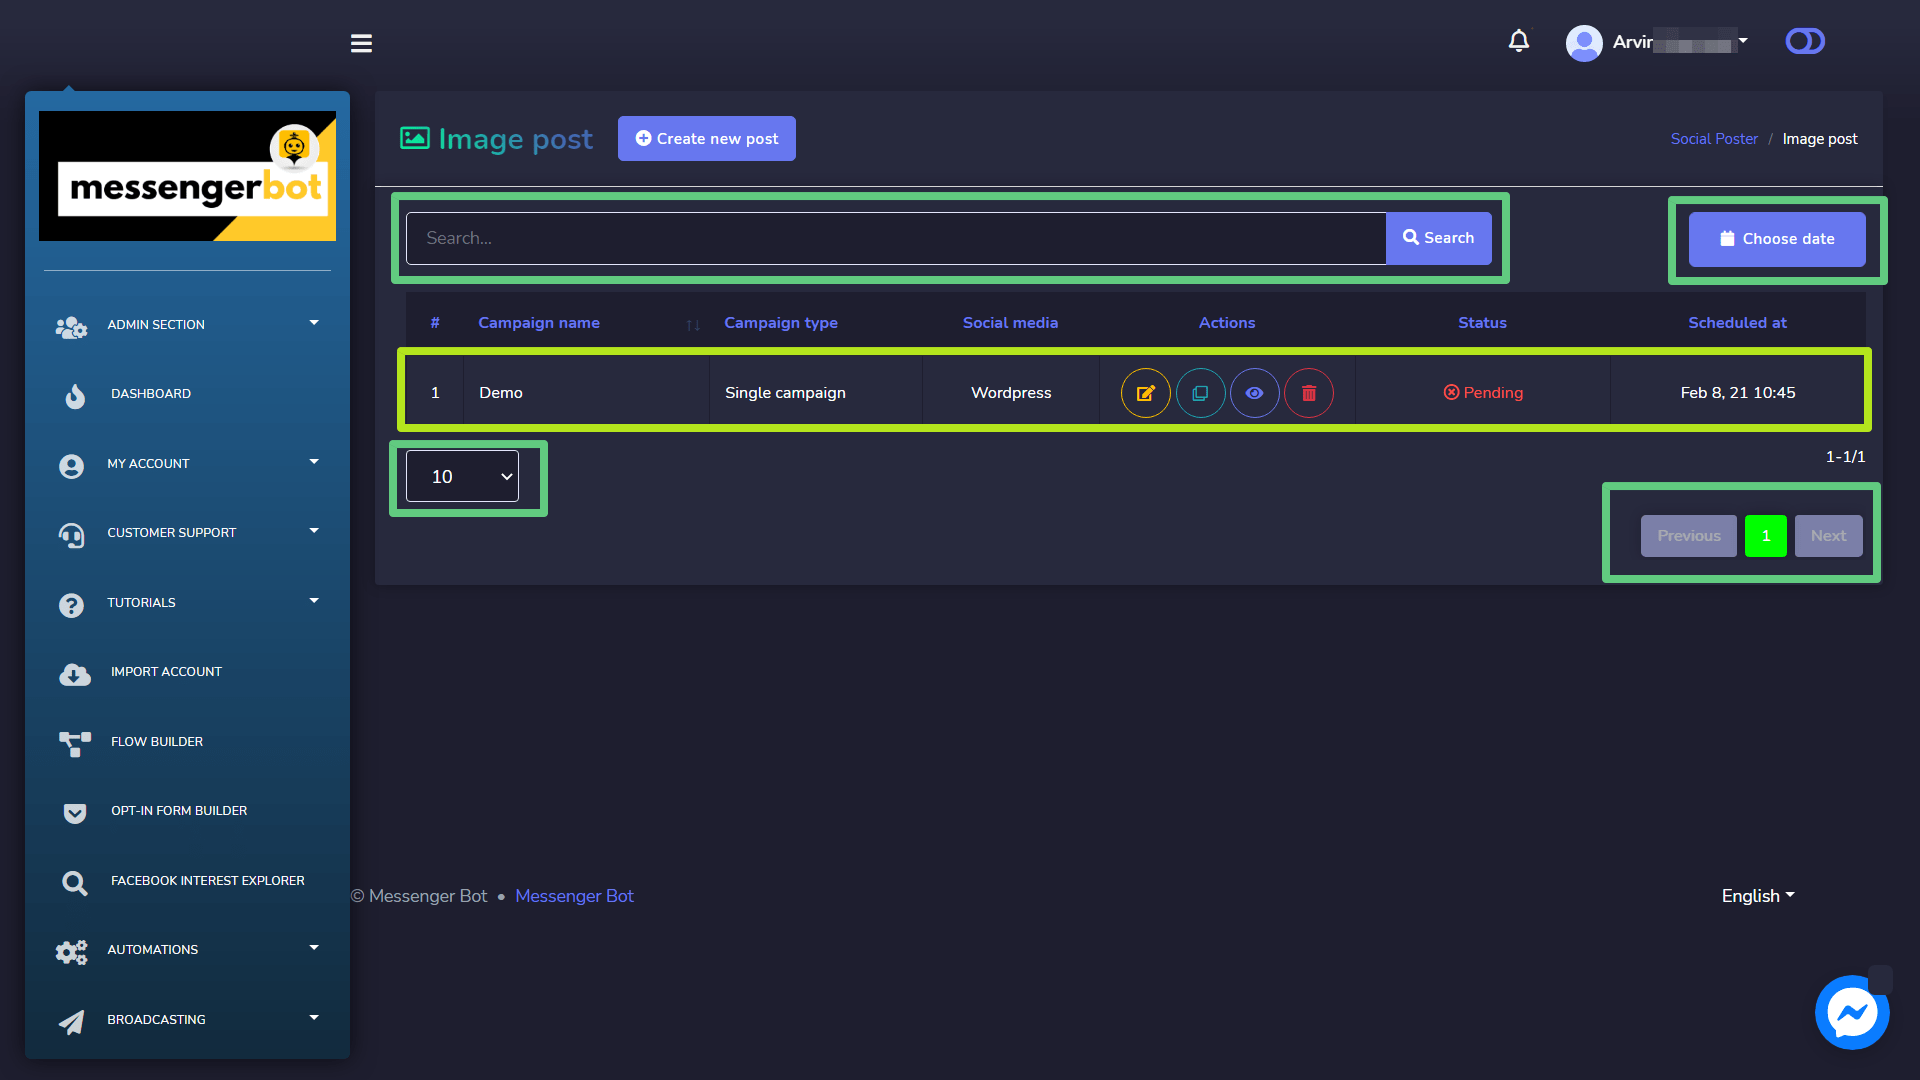
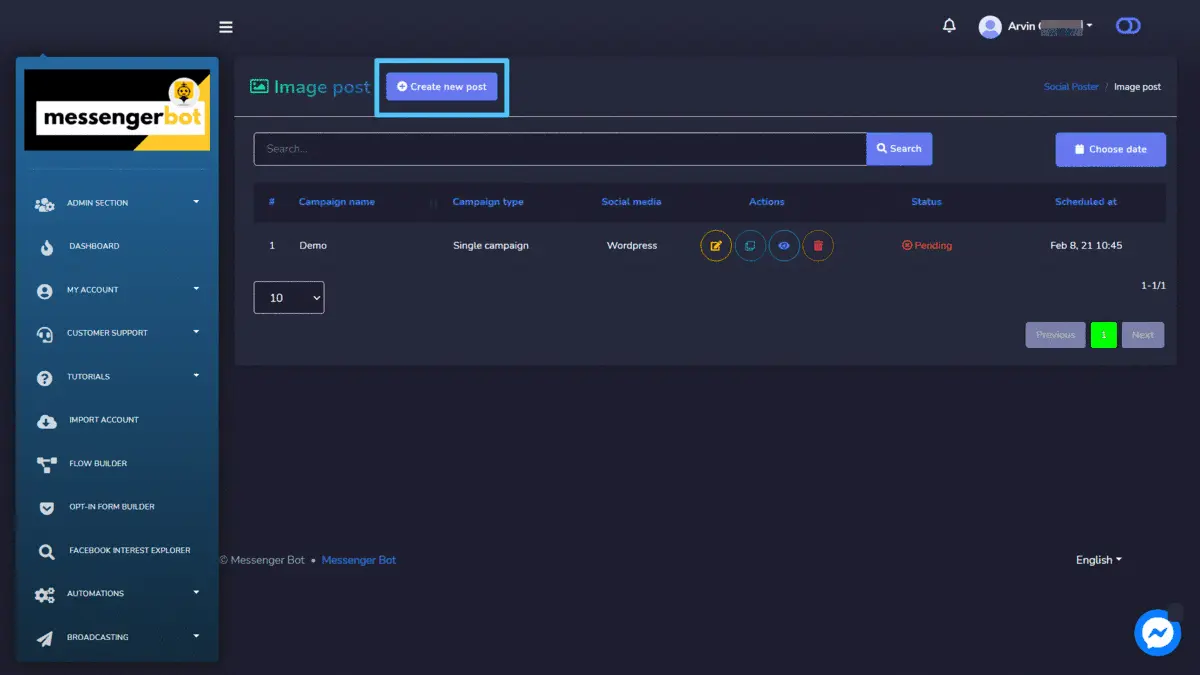
An Image post screen will appear, it consists of a list of campaign types and campaign names you can search for a campaign by using the search bar. You can adjust the number of campaigns to be viewed per page. You can choose the date range for the narrowed search. You can also sort them out based on their status. You can arrange the names either in ascending or descending order by using the arrows in the header of the table.
The following are the actions that can be performed against the campaign you want to perform actions on:
- Edit a campaign.
- Clone the campaign by selecting
.
- View the campaign report by selecting
.
- Delete a campaign
Create new Image Post
To create a new Image post, follow the steps given below:
- Select
from Image post screen.
- Provide a Campaign name, title and a message.
- Provide a Link for pinterest and rich content.
- Select a Posting time for the text post.
- Select the social accounts from which this needs to be posted.
- Once selected all required options, you need to select Create campaign.
 from Text post screen.