SMS/Email Templates
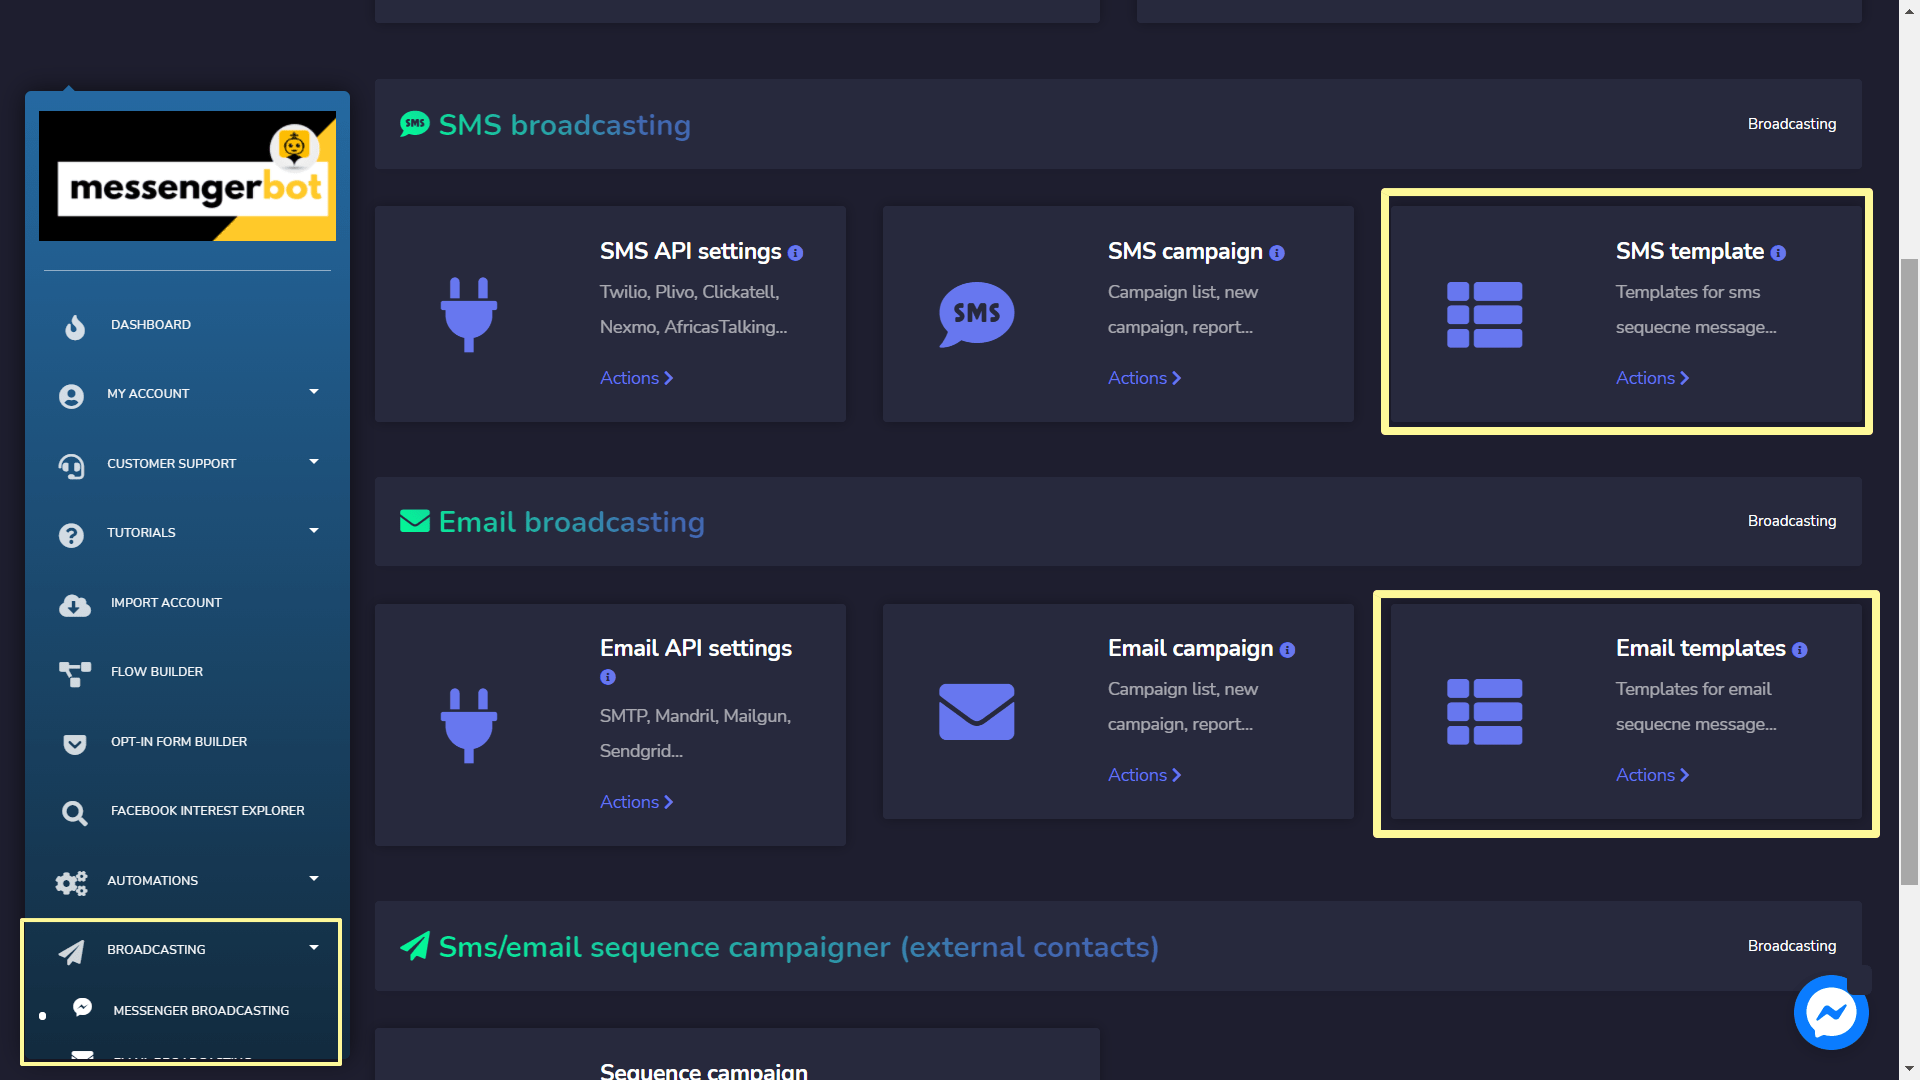
To get started with SMS/Email sequence, you’ve to create SMS & Email Templates to create SMS & Email Sequence campaigns. But to do this you need to go to the Broadcasting menu and choose Email or SMS Broadcasting. Then this screen will show. you will find two blocks named SMS Template and Email Template.
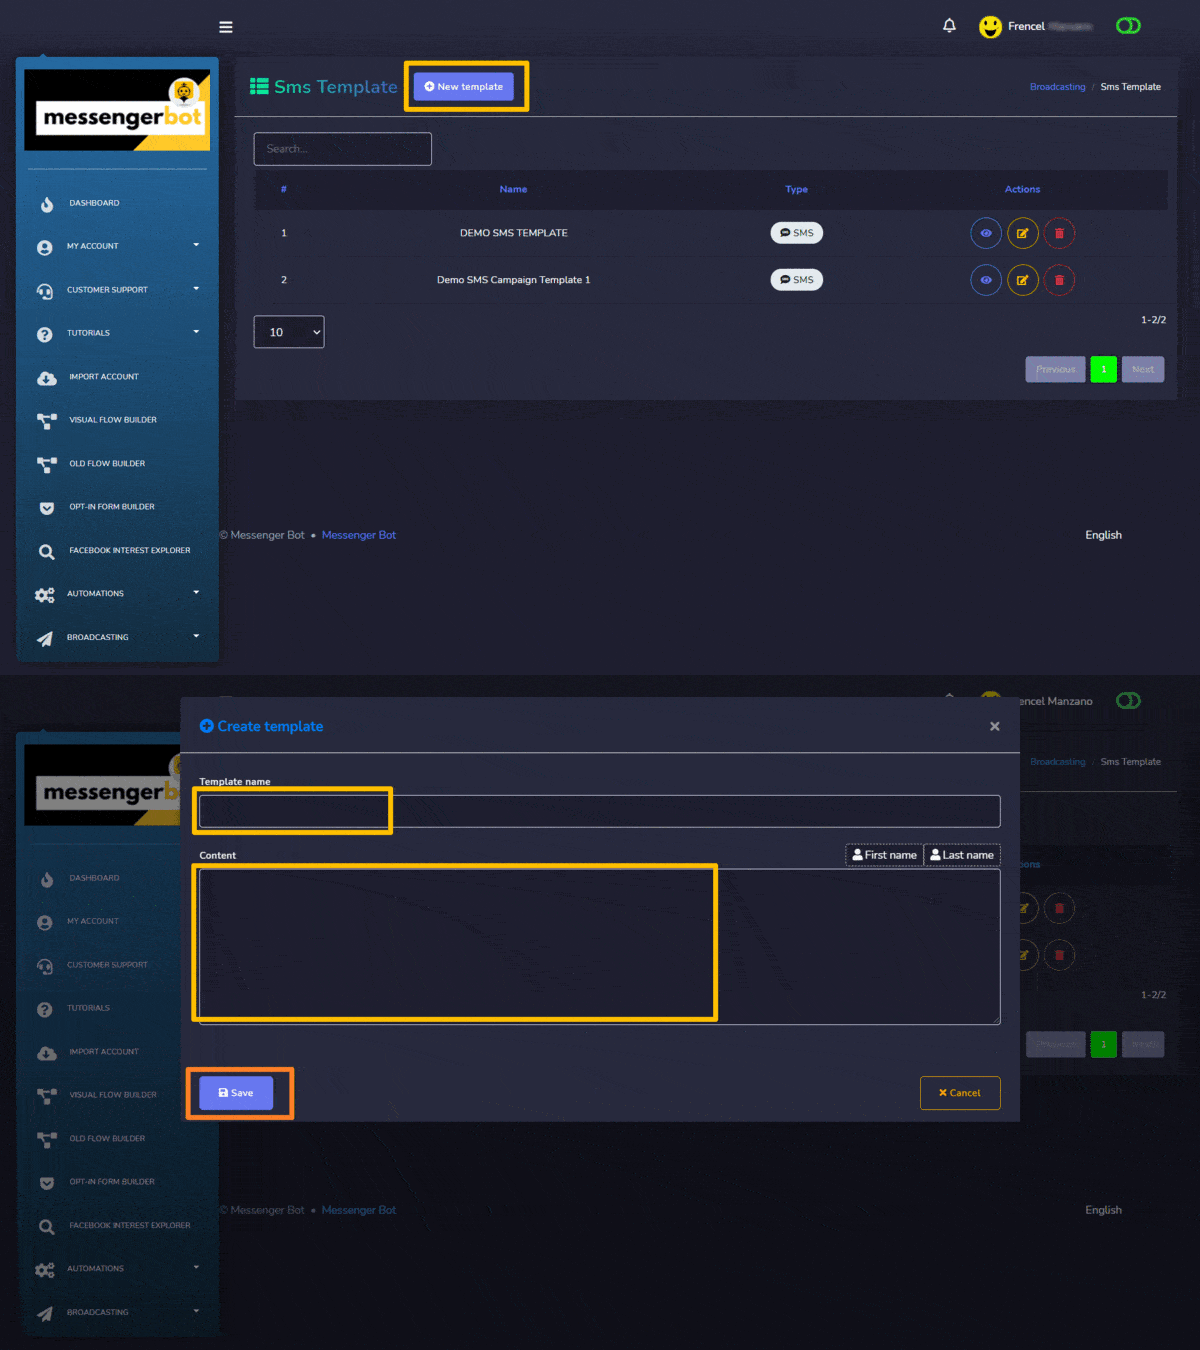
SMS Template
For the SMS template section, click on the New template button then a modal will appear. Create SMS Templates by providing information.
Email Templates
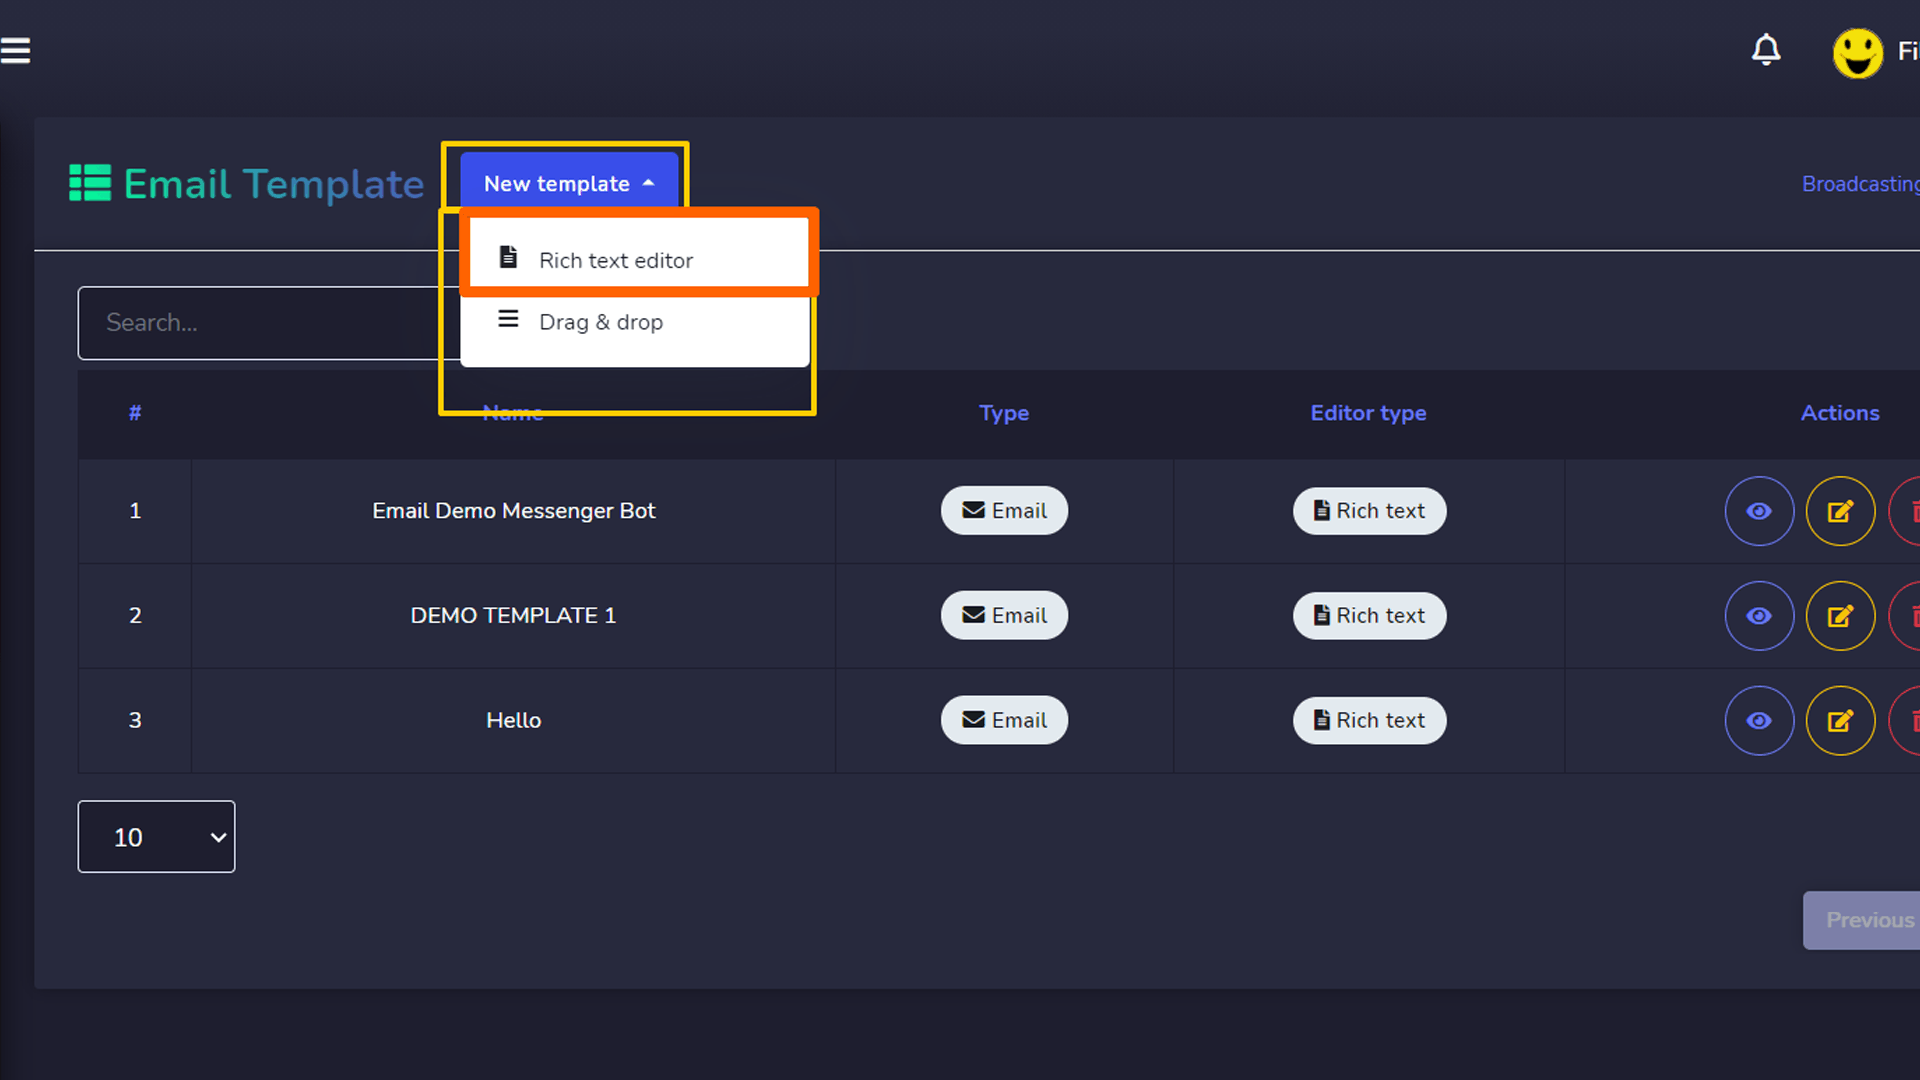
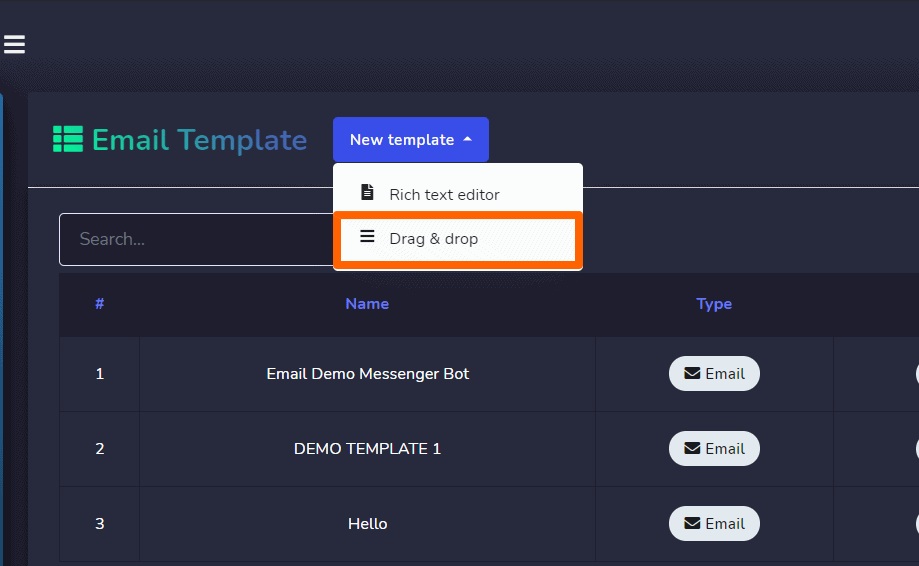
For the Email templates section, click on the New template button then a dropdown will appear with two choices:
Rich text editor
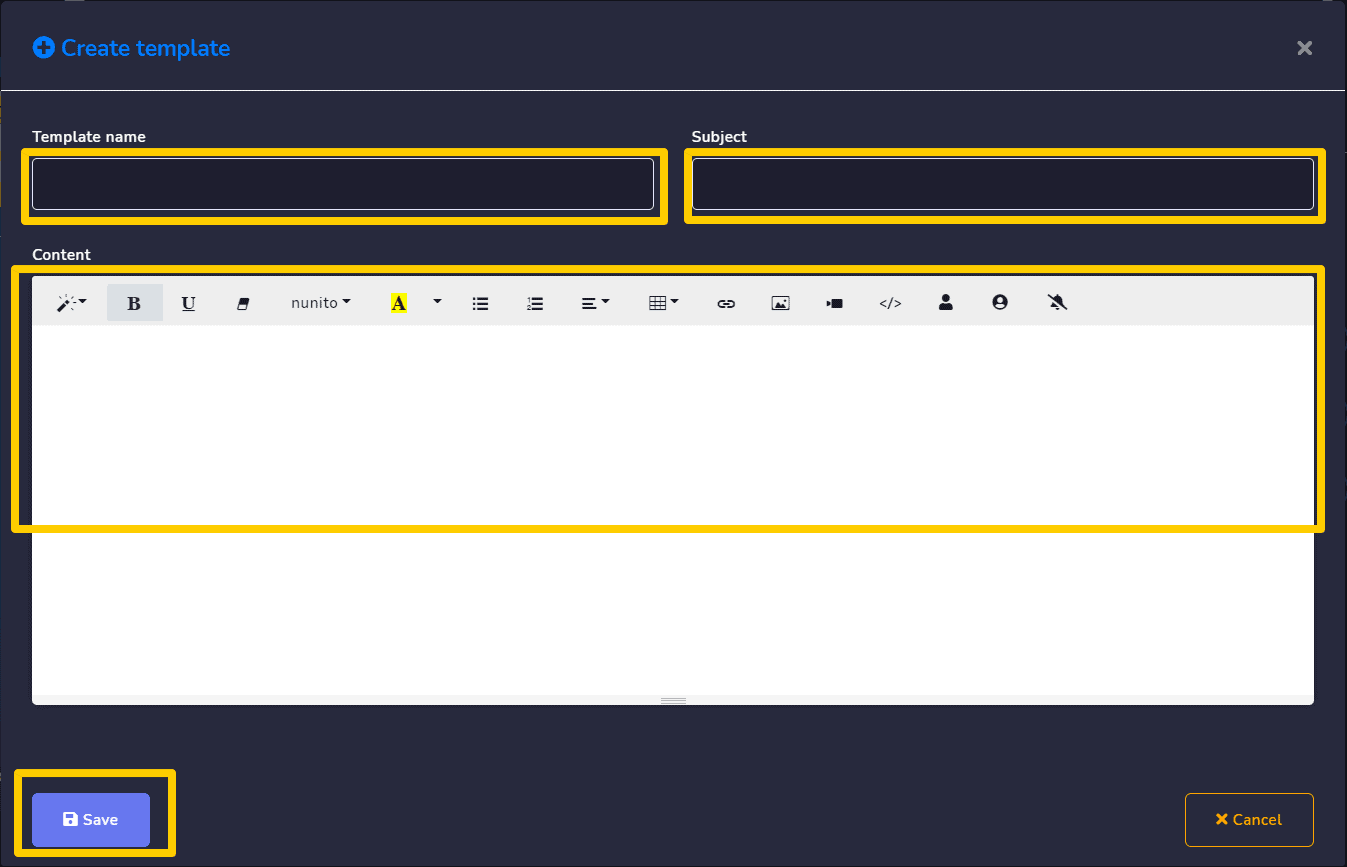
Create SMS or Email Templates by providing information.
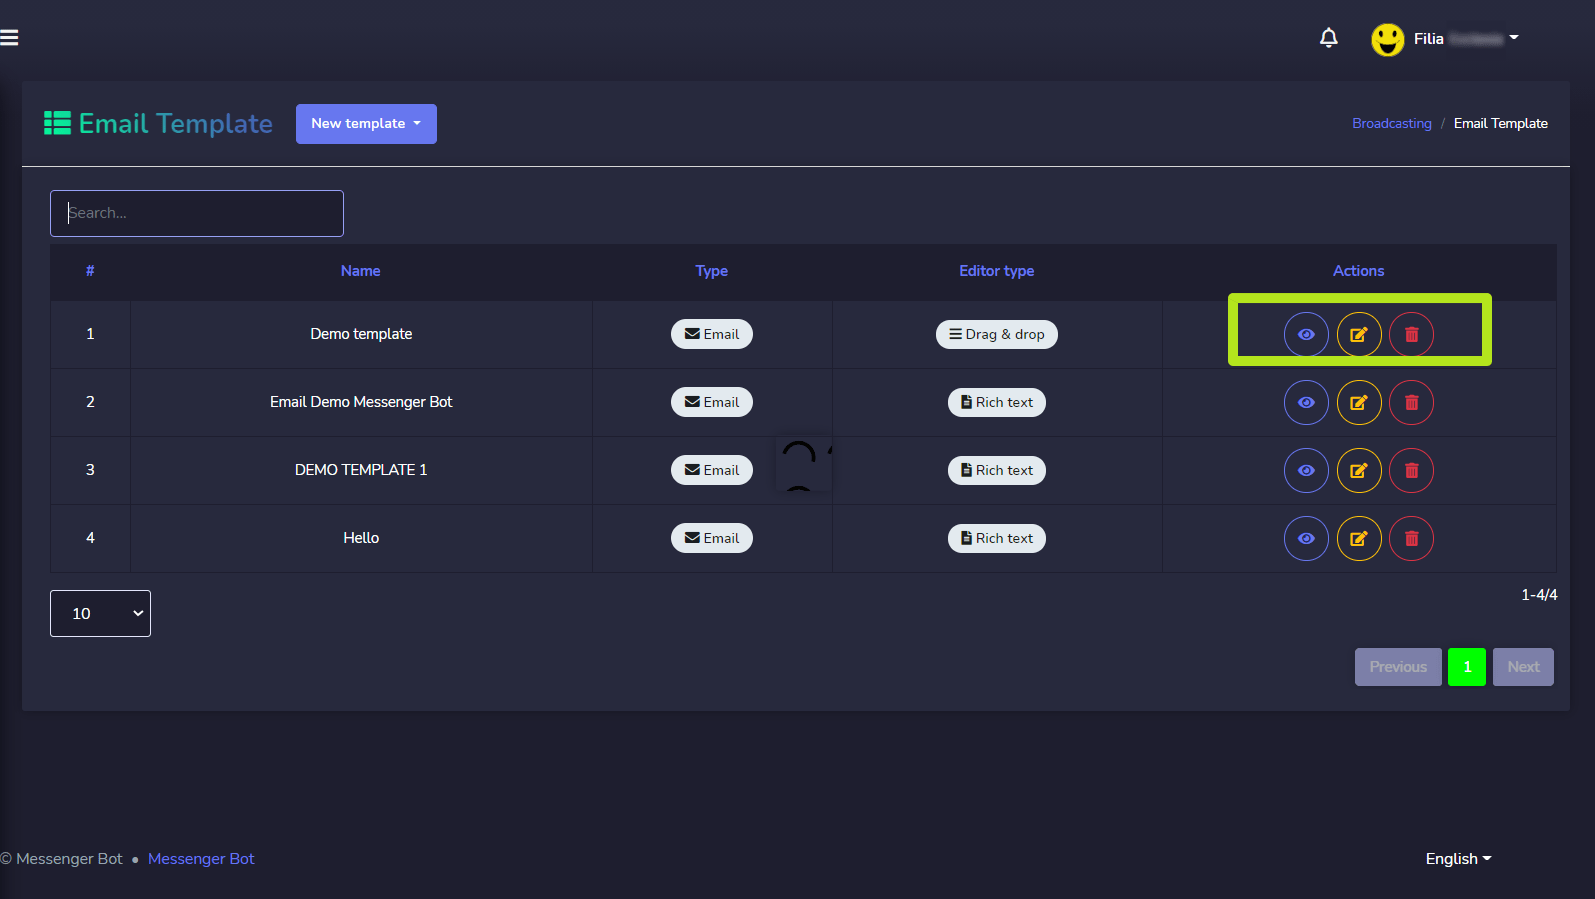
Also, you can see the existing templates in the table from where you can view, edit and delete templates.

Drag & Drop
For the drag & drop, we have 4 templates that you can use:
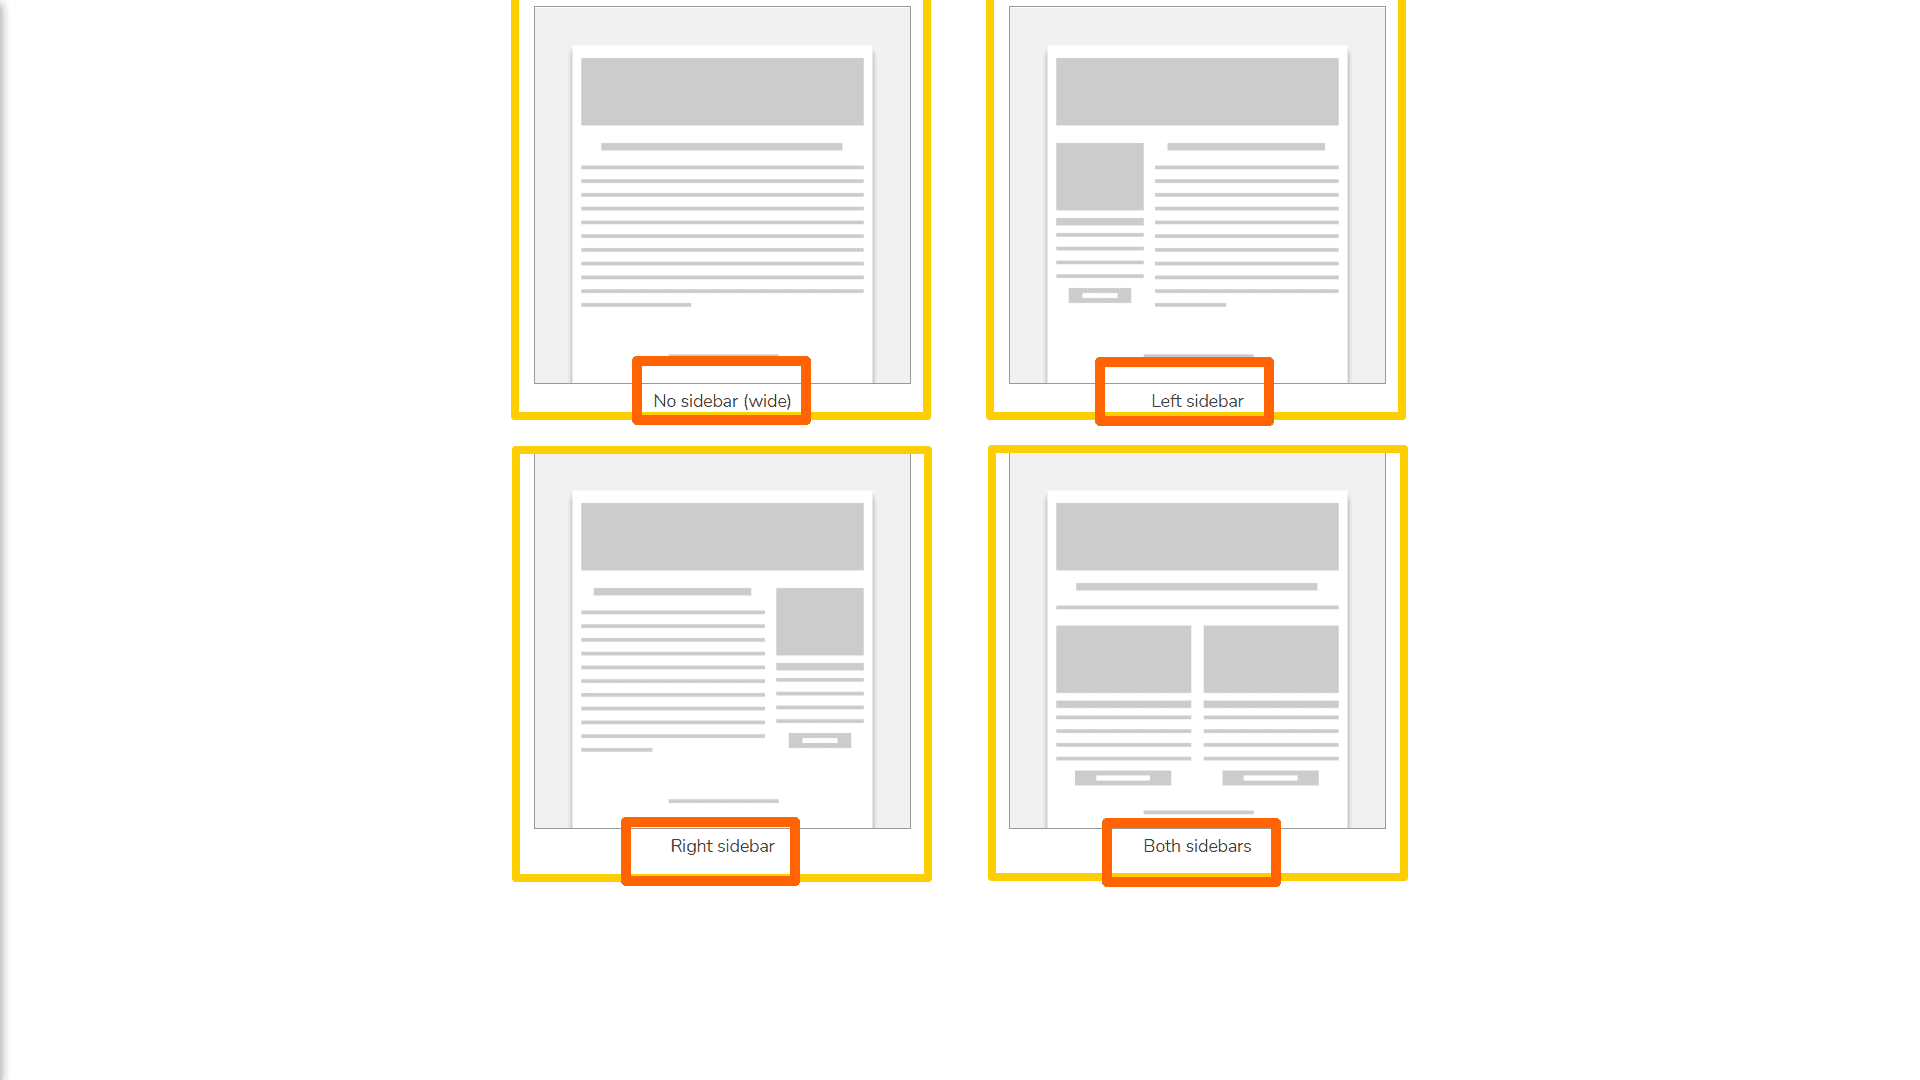
No sidebar (wide)
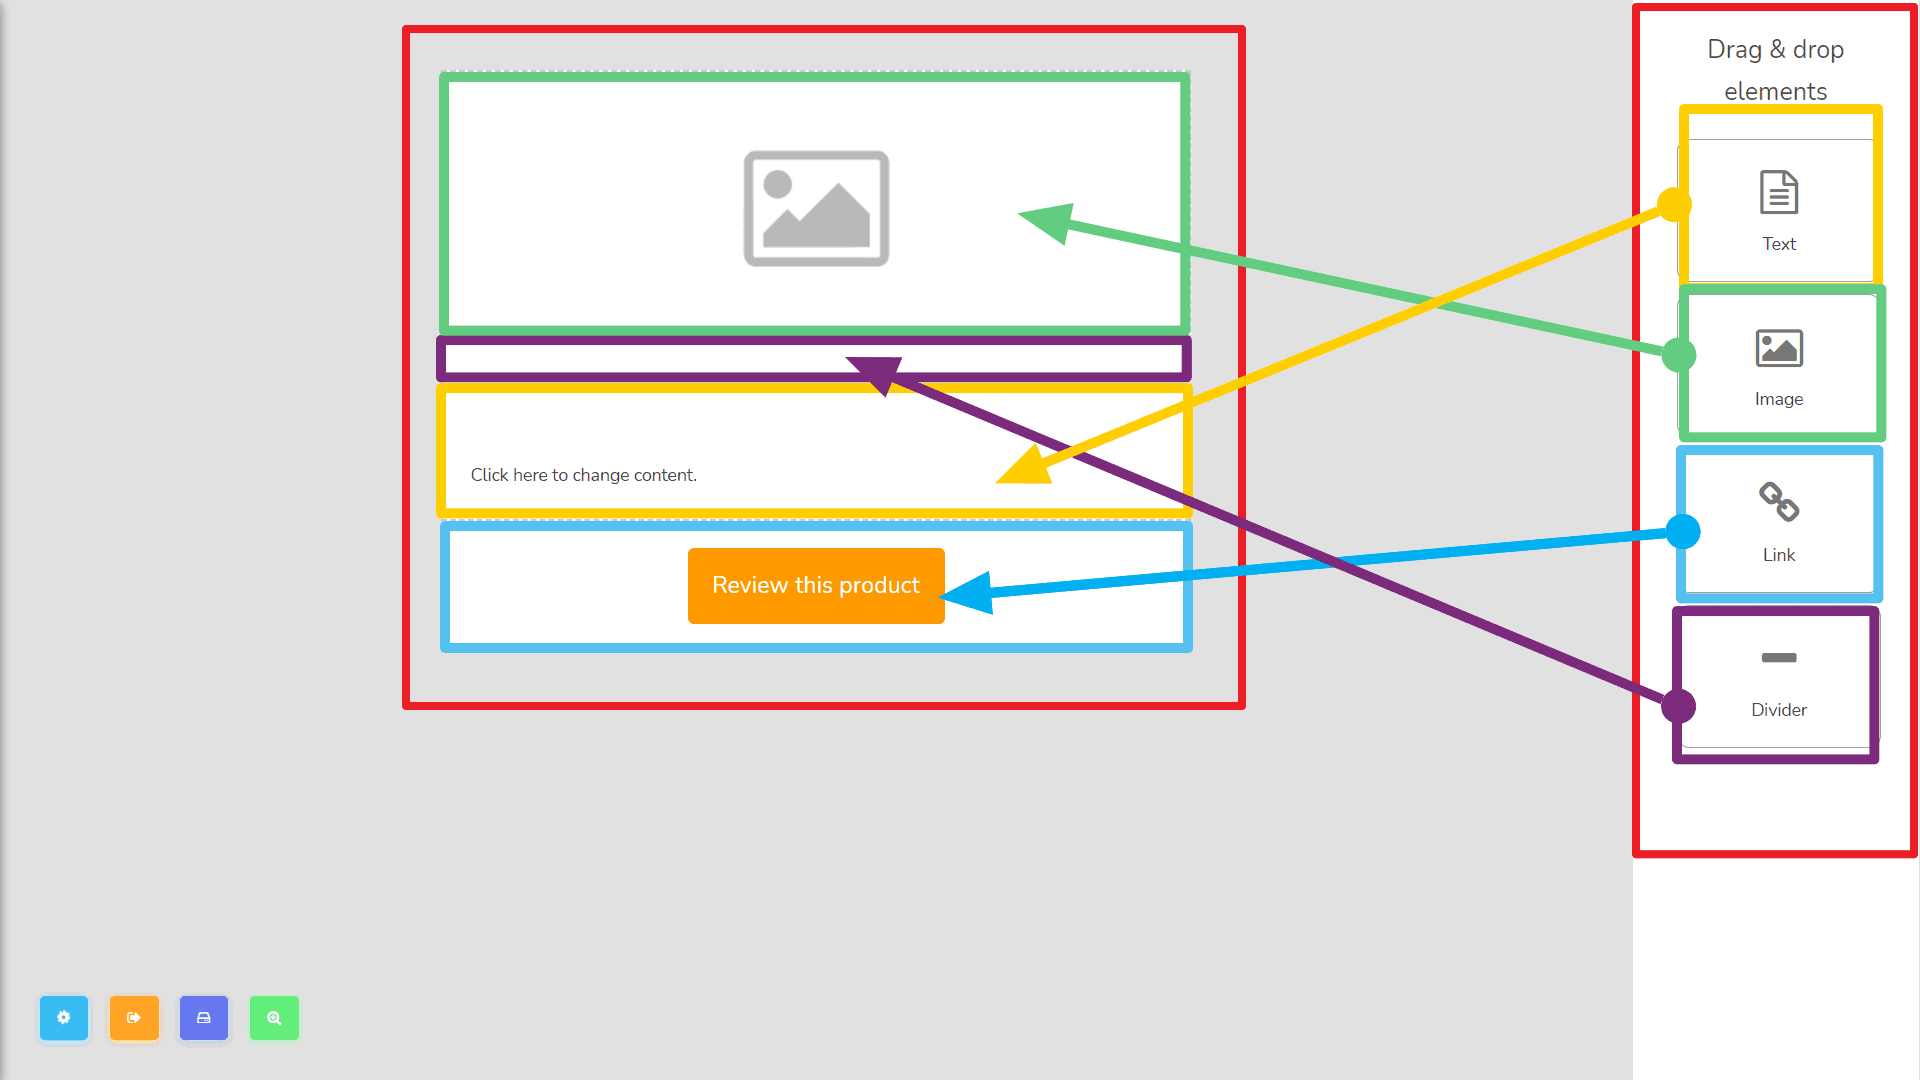
This is how your workspace on building your template would look like.
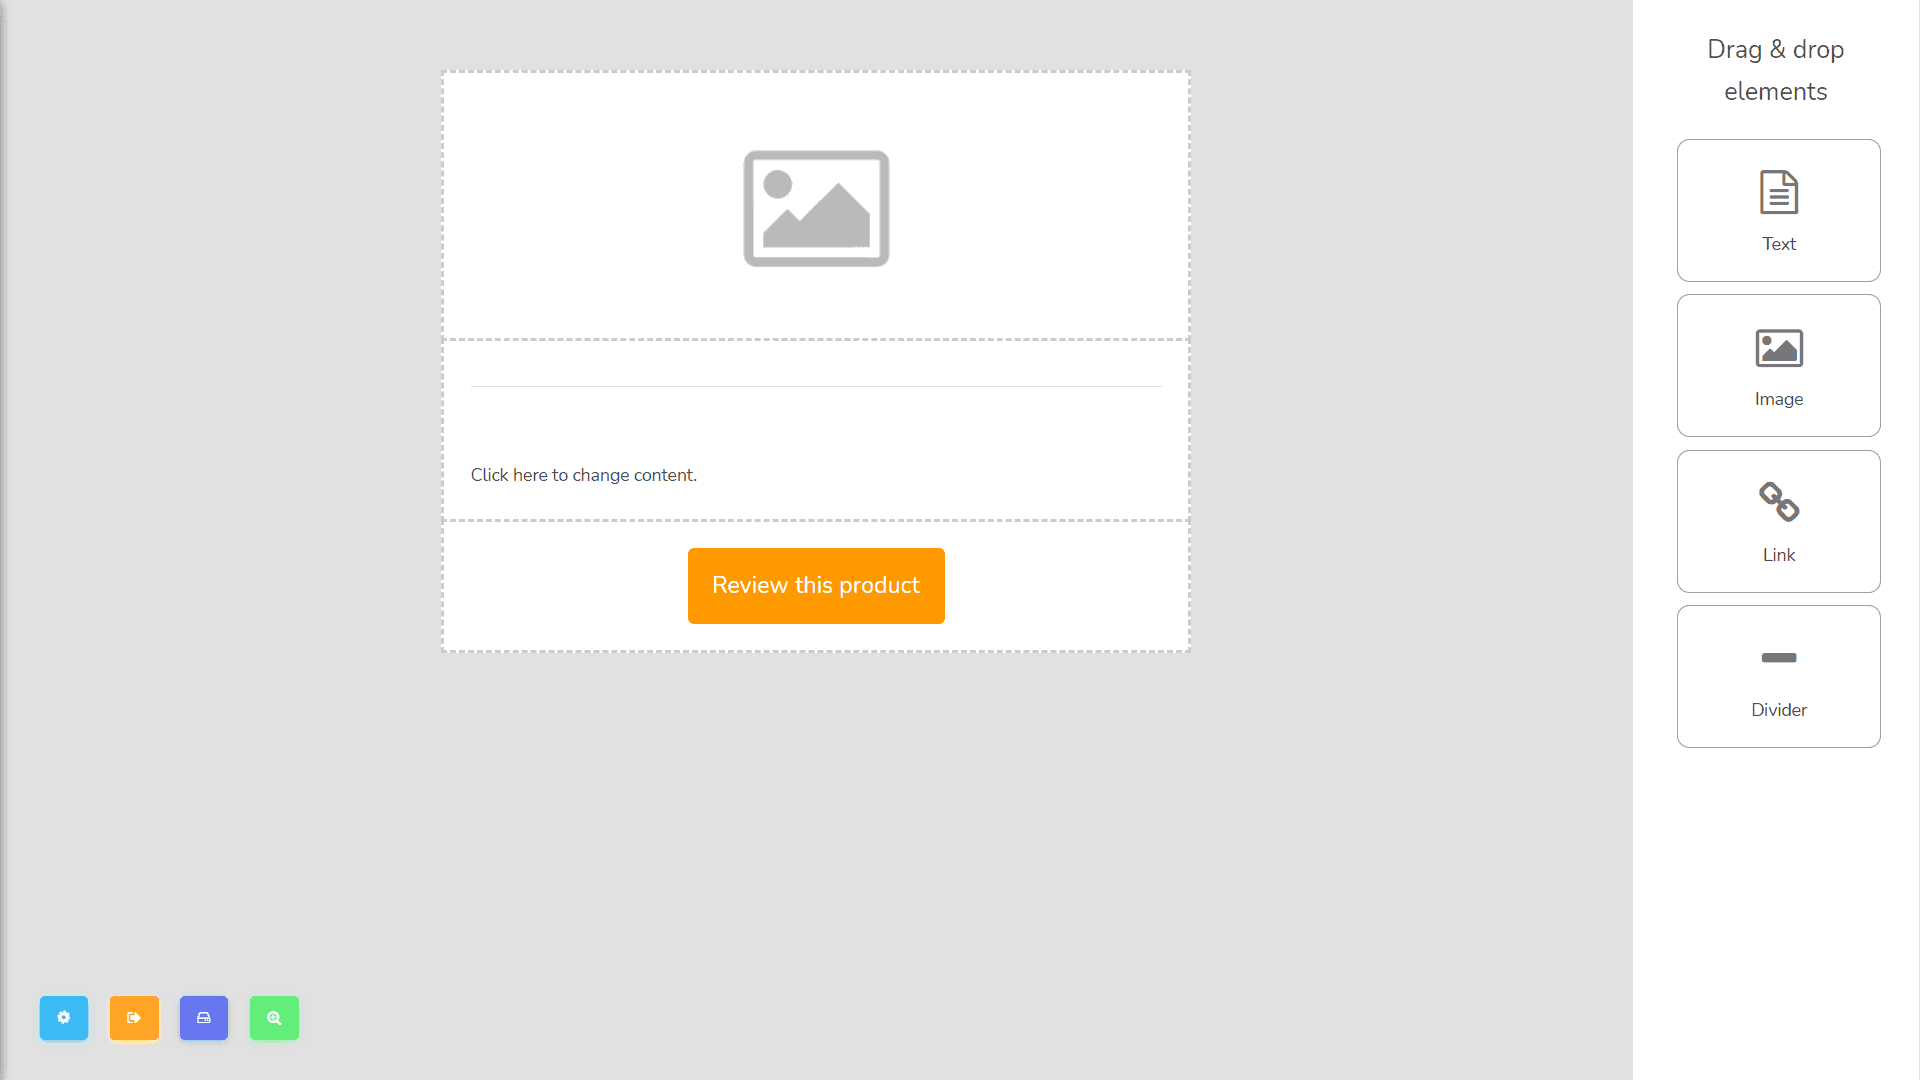
On the right part, you will see the drag and drop elements that you can use such as:
There are sets of a button on the lower left of the workspace page. starting from left to right we have Layout options, Save and Quit, Save template, and Preview.
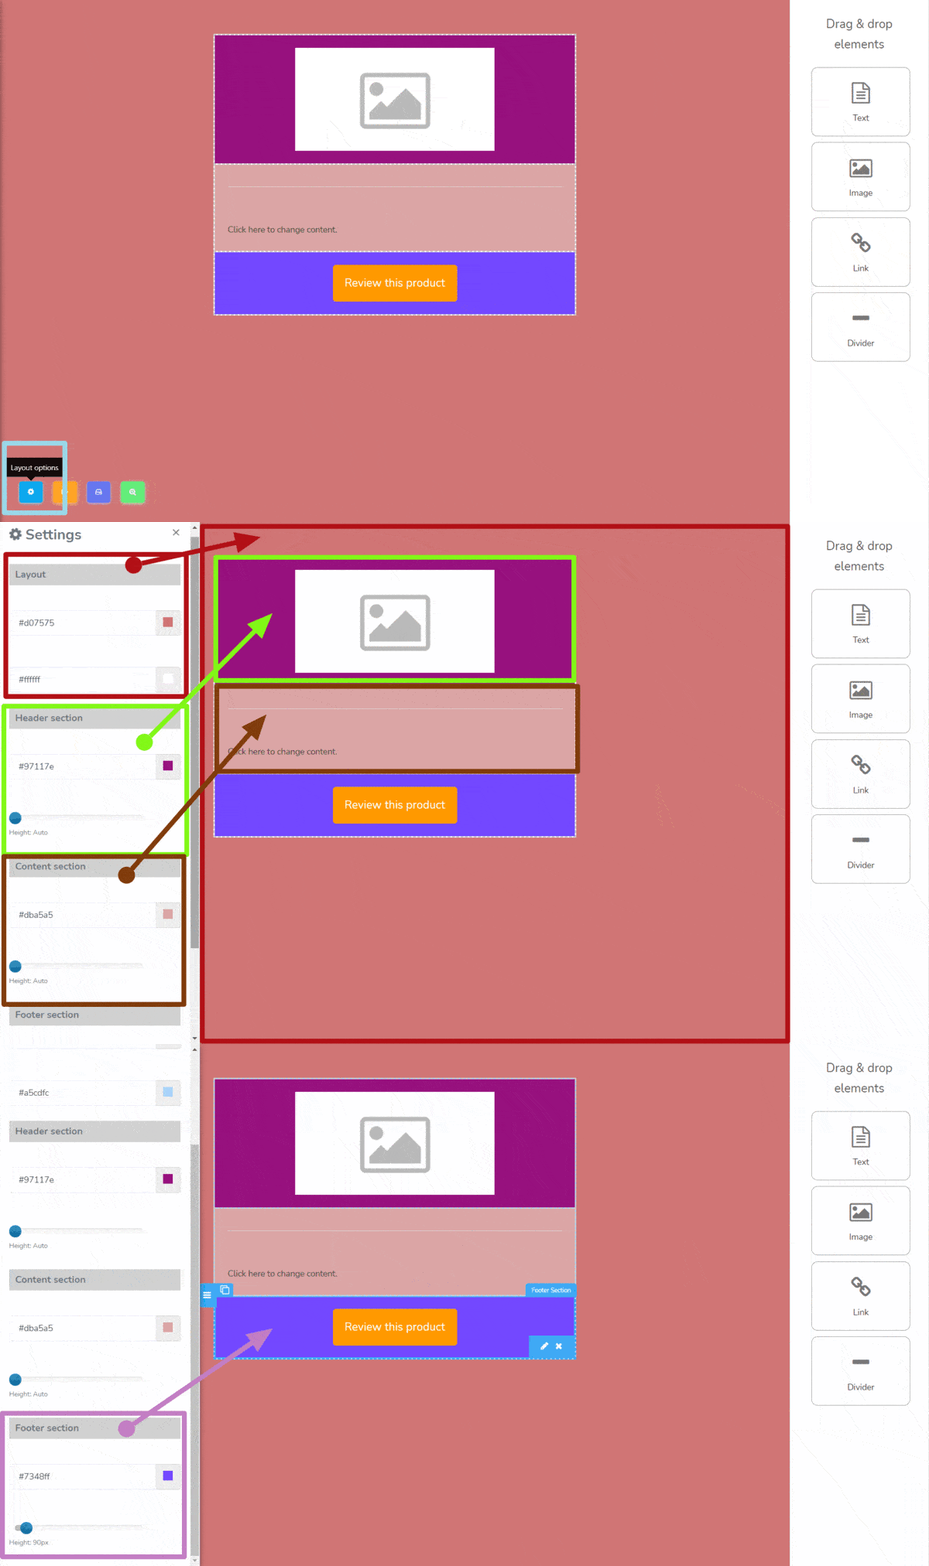
Here, you can see the settings of your template layout. You can change its background color and height sizes per section. These are the following sections:
- Layout would be the background of your template. You can also change the outline of your template by changing the 2nd color to where you can see the cursor.
- Header section is the first layer of the template as shown. You can change the background color and height here.
- Content section is the second layer of the template as shown. You can also change the background color and height here.
- Footer section is the third layer of the template as shown. You can also change the background color and height here.
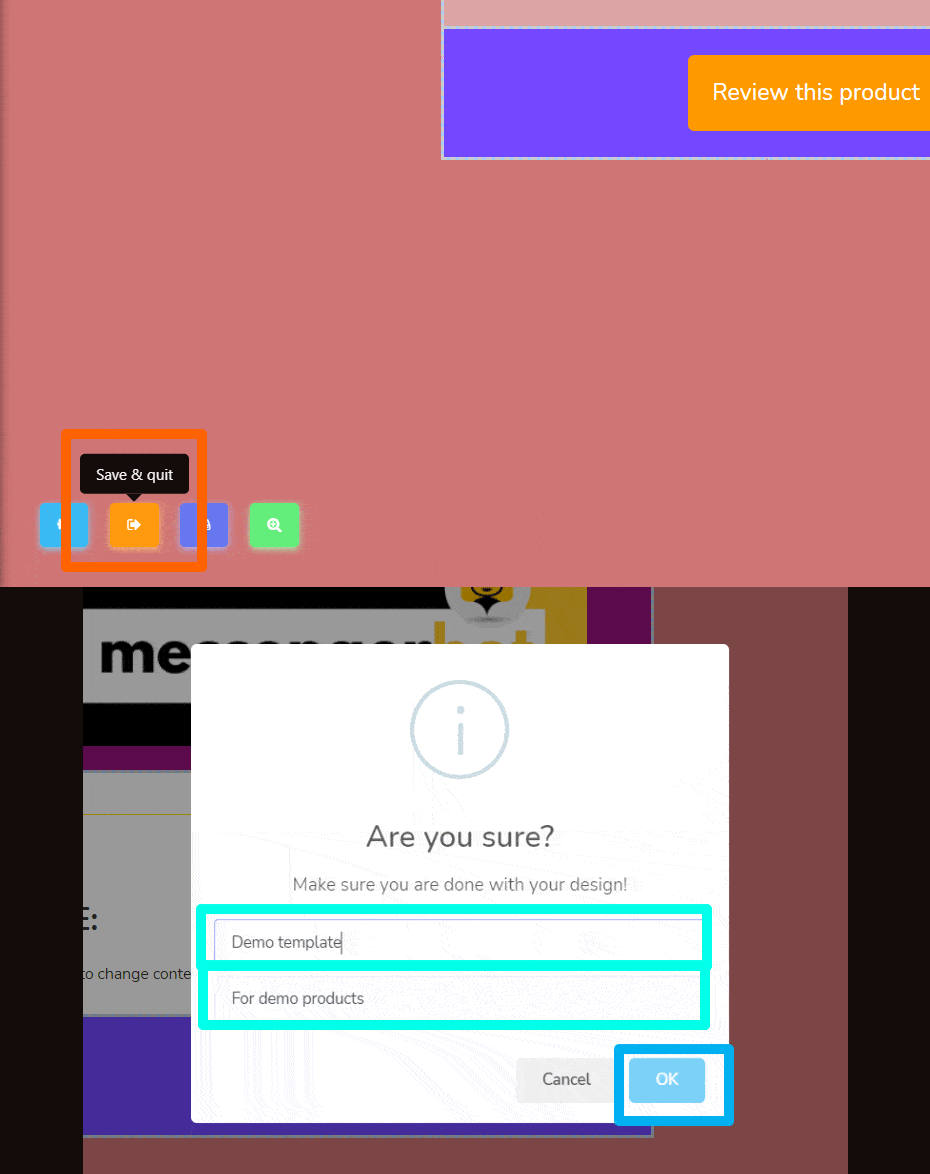
Saved & quit
Saved & quit means saving your work and will be exited on the workspace. When you click Save and quit, this modal will appear, type in your template name and template subject then click OK.
Save template
Save template will be simply saving your template and still can continue building it, this notification is what it will show you after.

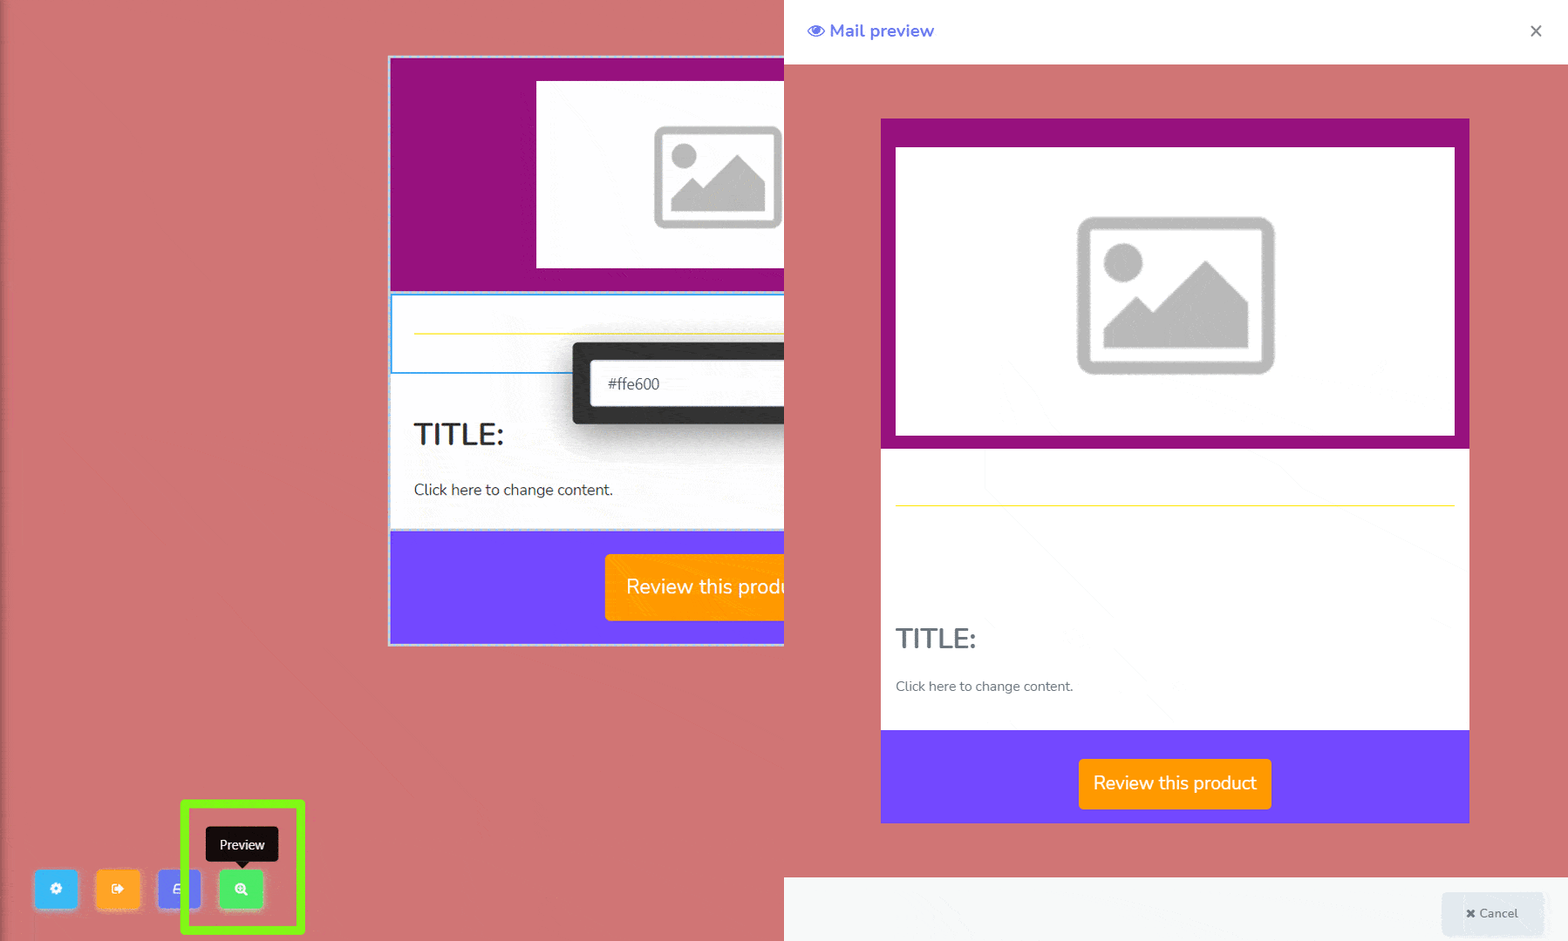
Preview
Preview means previewing the overall design o your template when generated.
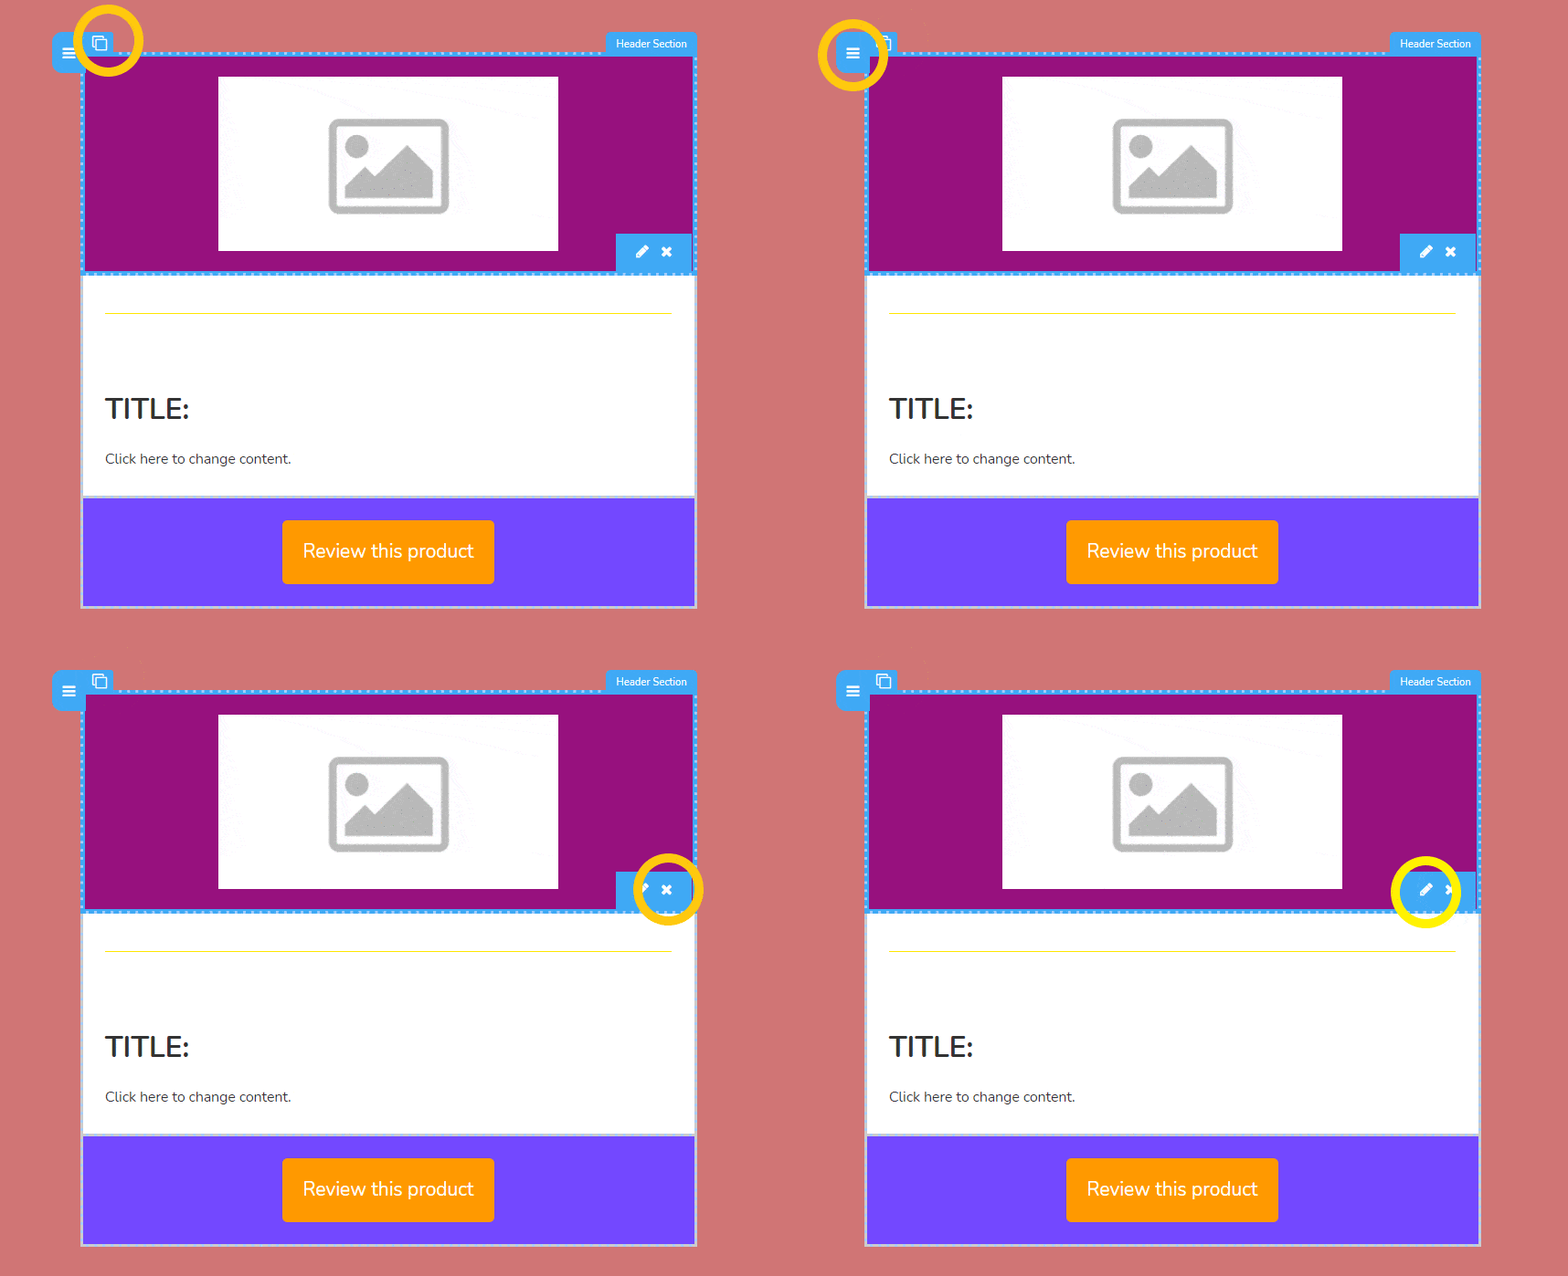
Now, you have to learn that each element that you placed on your template are editable and have functions like:
- Copy, this is for duplicating your element.
- By clicking and holding this at the same time, you can drag this up and down to move its place on the template.
- X is for deleting the element.
- Pen icon is when you want to edit the element. Each element has its different ways of customization that you can play with:
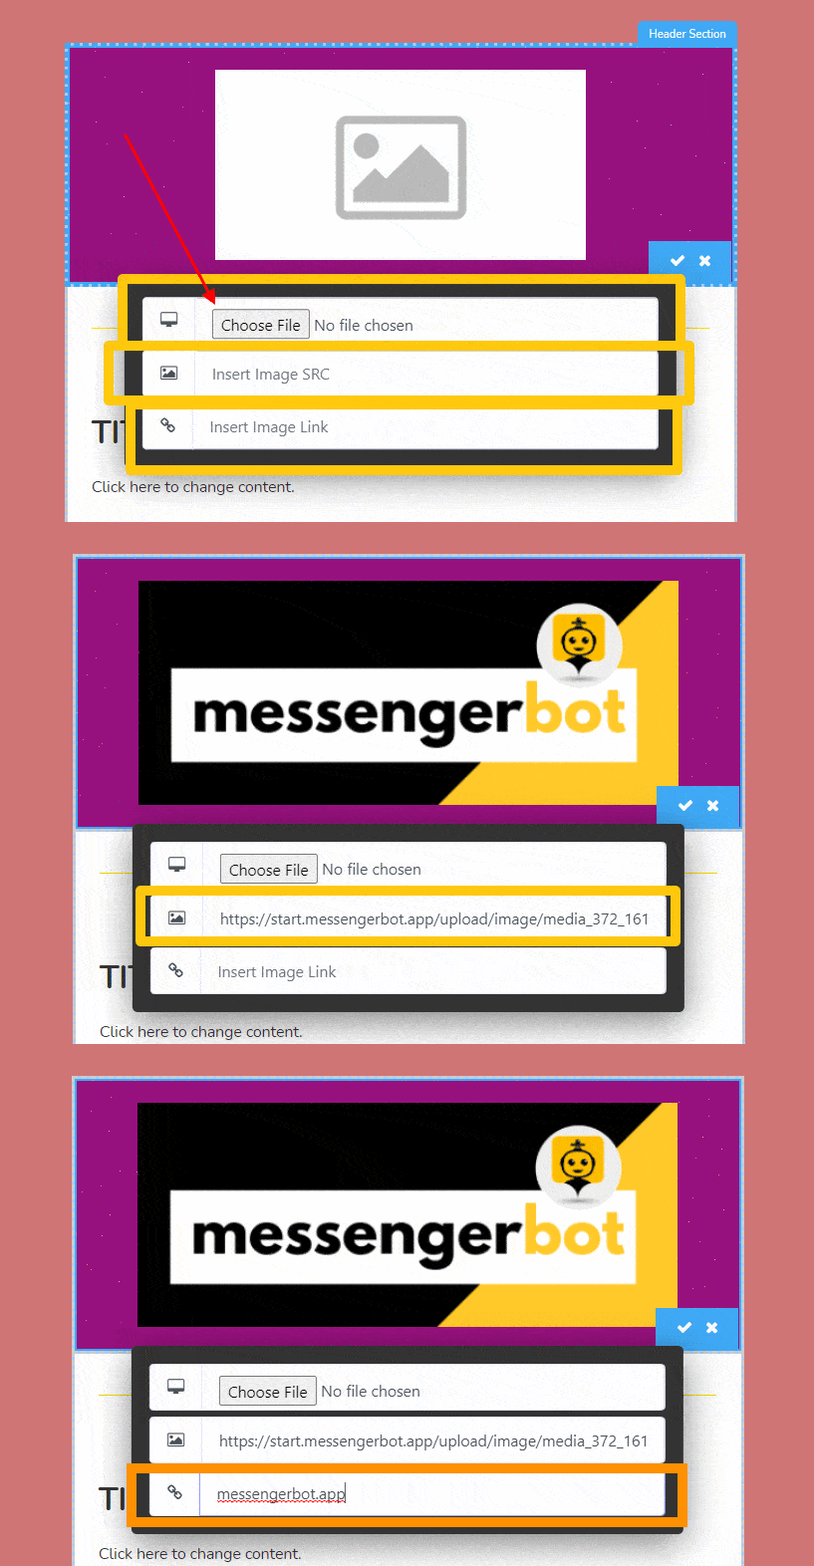
- Image – you need to upload your desired image, next insert image SRC (source) which is the place where your image is saved, it will be shown automatically after you save your edit by clicking the check icon. this is how it will show. Type the link here where you want to be redirected whenever the image is clicked by users.
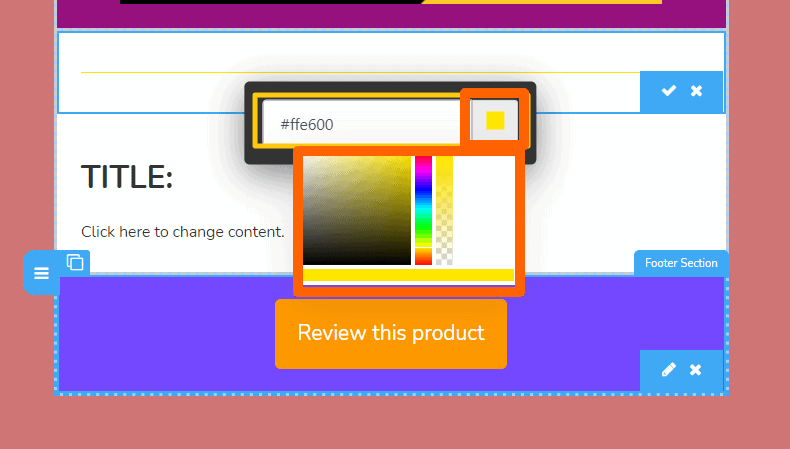
- Divider – You can change its color by typing the HTML color code or choose your color randomly on the color gradient.
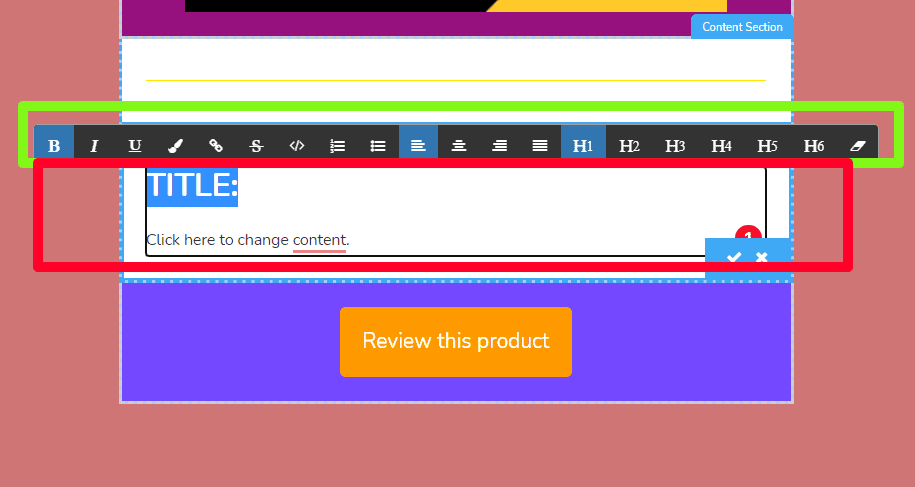
- Text – It can be customized by choosing the options above while typing your texts on the text box.
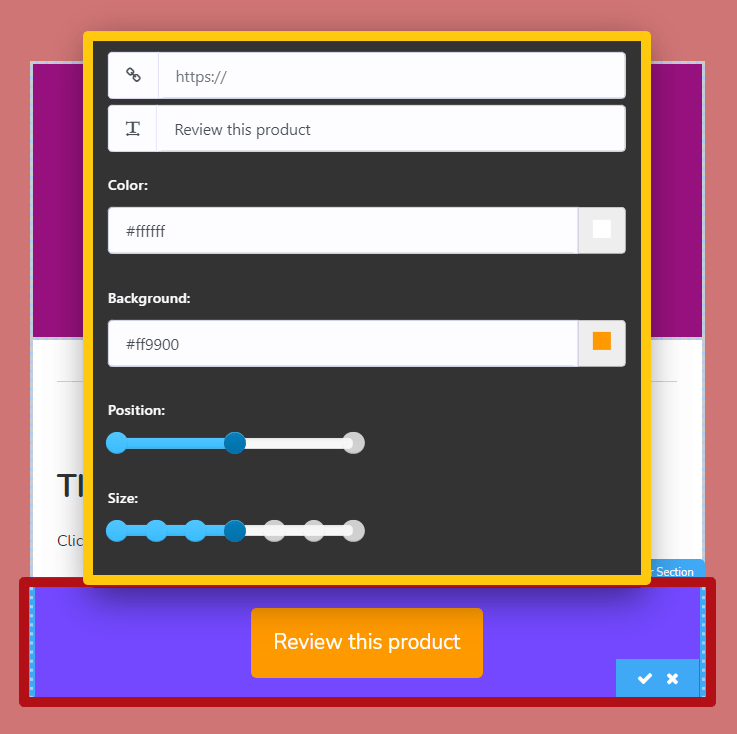
- Link – This means editing the button.
- Place the wanted link of your product.
- change your desired text display on the button
- Color represents the color of the text of the button.
- The background images can be changed here, I made it yellow-orange as an example.
- This will be the button’s position either left, center, or right.
- The last one is the size of the button itself from small to big.
Left sidebar
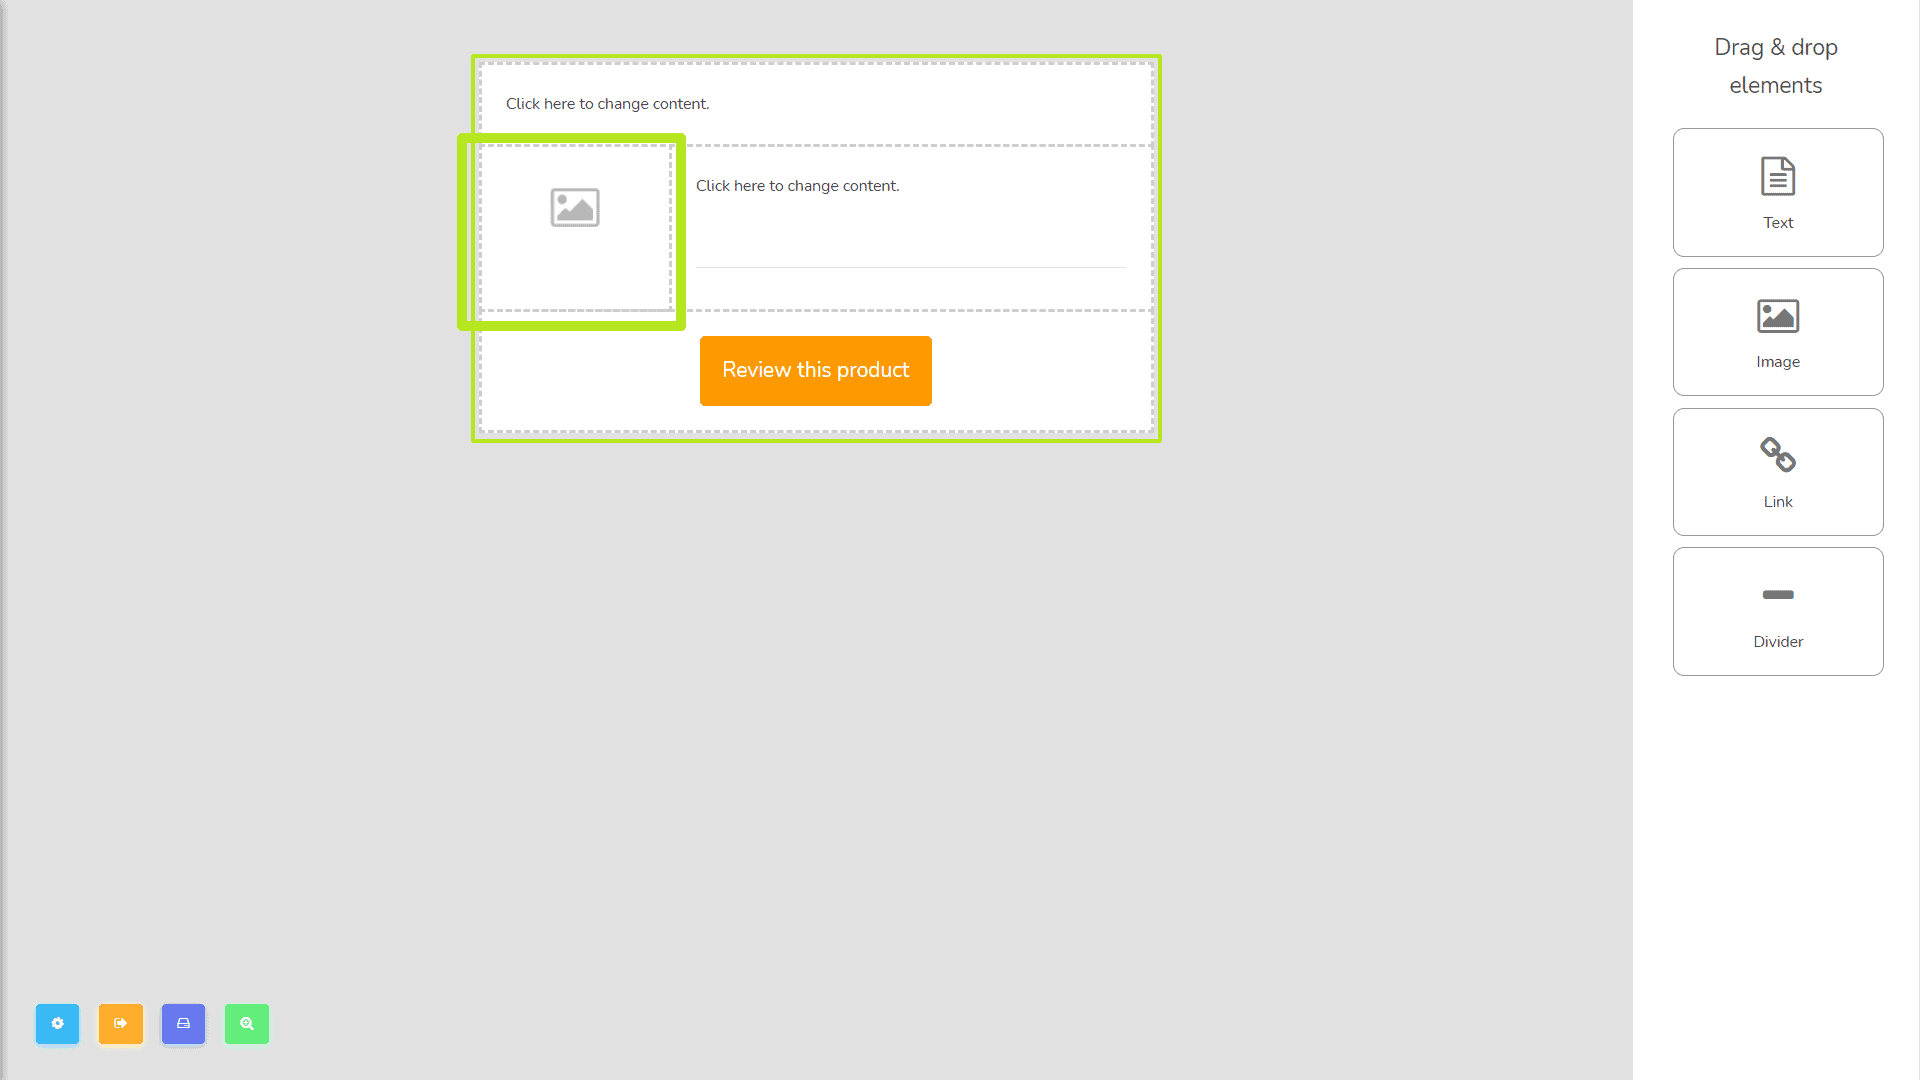
The next template would be the left sidebar. the following image is how it will look like:
Right sidebar
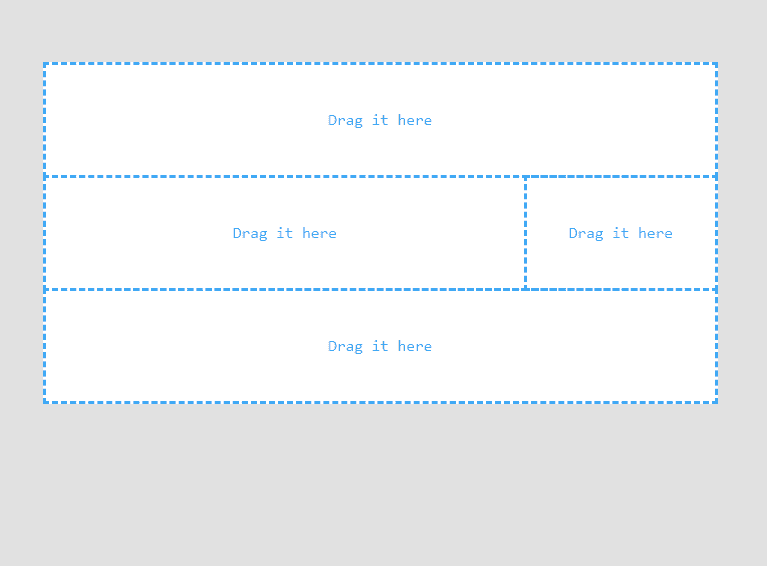
Click on the right sidebar and you can now create and edit your template.
Both sidebars
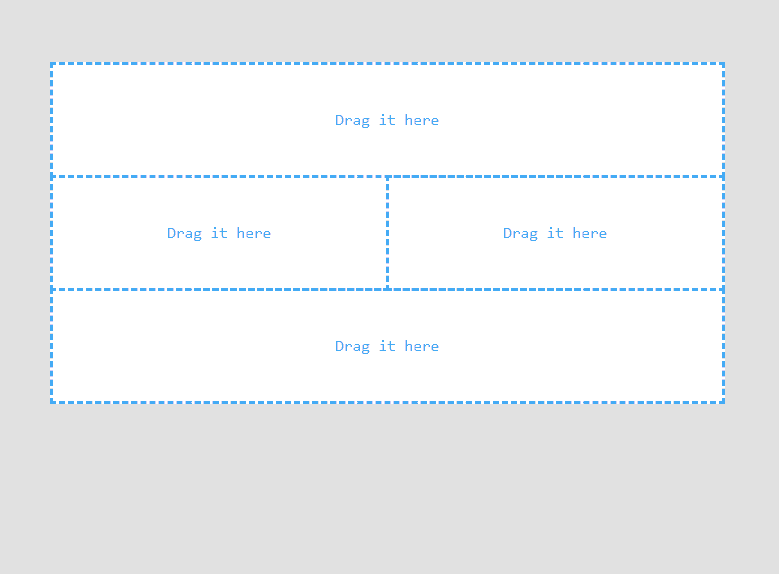
Last, click on Both sidebars and you can now create and edit your template.
Also, you can see the existing templates in the table from where you can view, edit, and delete templates.
